
CEO of Cypress Log Homes hops on a sexy 955 Cat and begins grading at the house site.
- 5/28/02

Yeah, nothing like moving yards and yards of dirt...enough to fall in love with the 955 Cat.
- 5/28/02

Still has to come down a couple feet for the 10' basement walls, but looking good.
-5/28/02
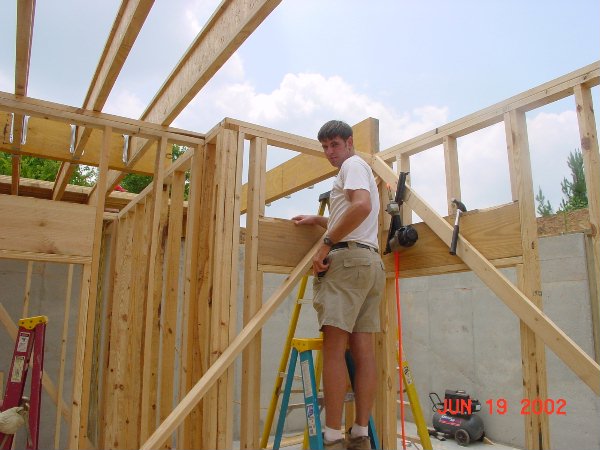
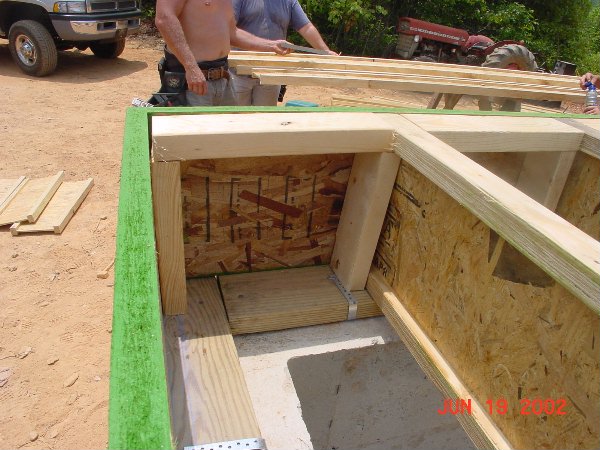
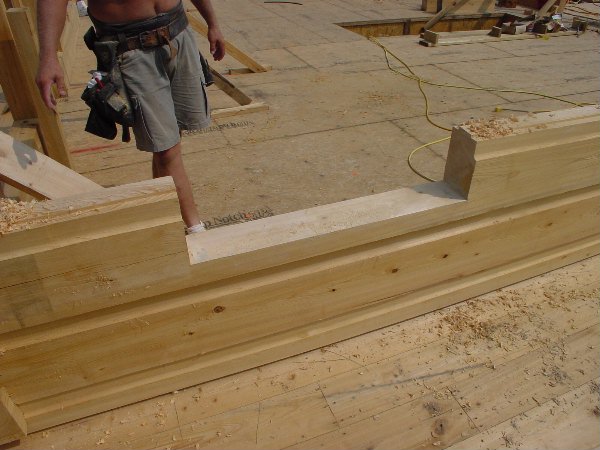
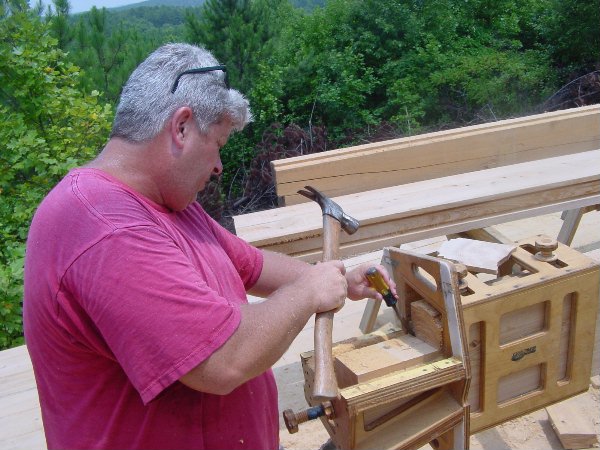
Here we see the best side of Kelly "The Ladies Man" Adams as he frames up a door header.
- 6/19/02
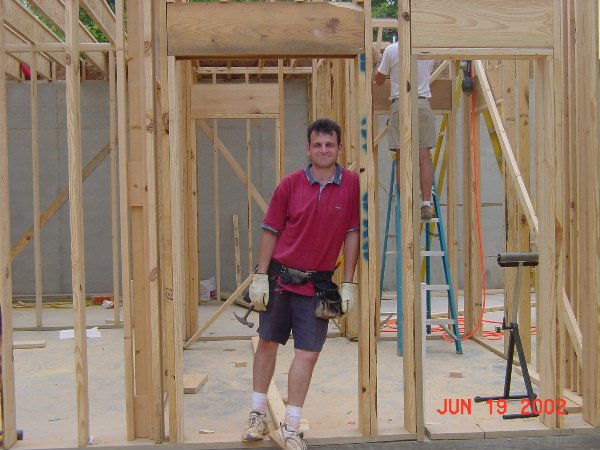
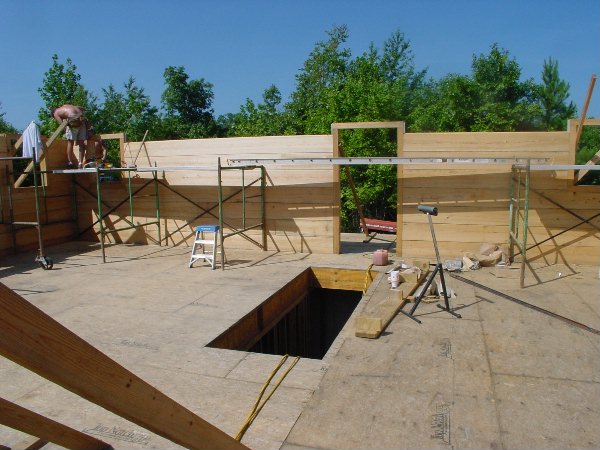
And here we have a not-so- great photo op as I pose for the camera in my basement door.
- 6/19/02
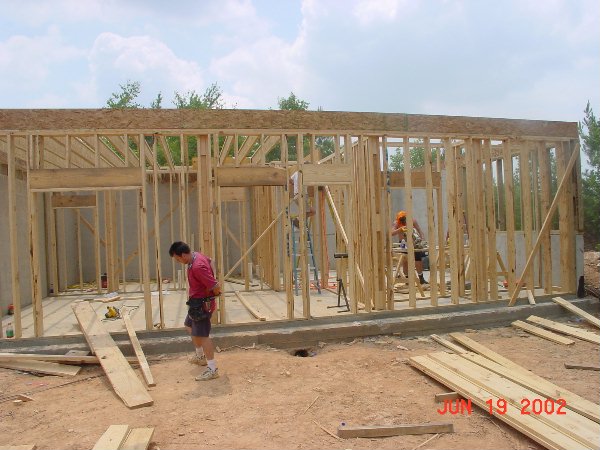
A nice view of the framed basement as I struggle with the adjustment on my tool belt.
- 6/19/02

David (affectionately known as "Gerald") Hendrix sets a floor joist.
- 6/19/02
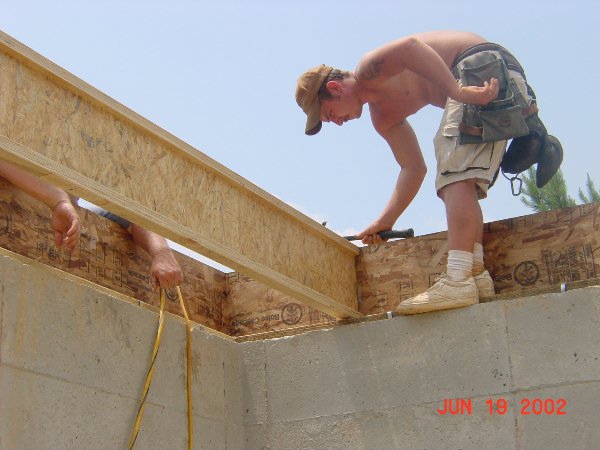
Derek (affectionately known as "Jeff") Watson nails the joist to the outer band.
- 6/19/02
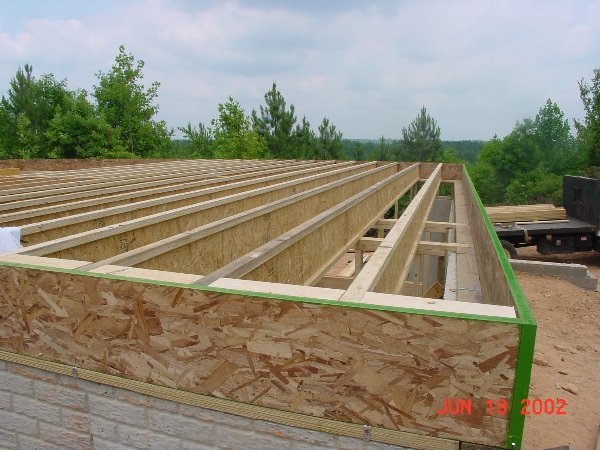
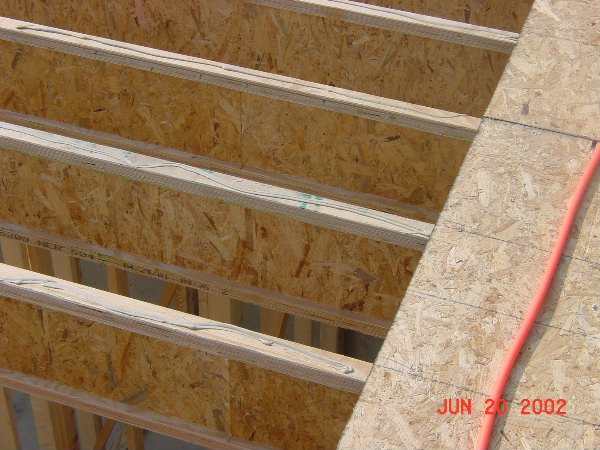
A beautiful view of the incredibly level floor joists on 16" centers.
- 6/19/02
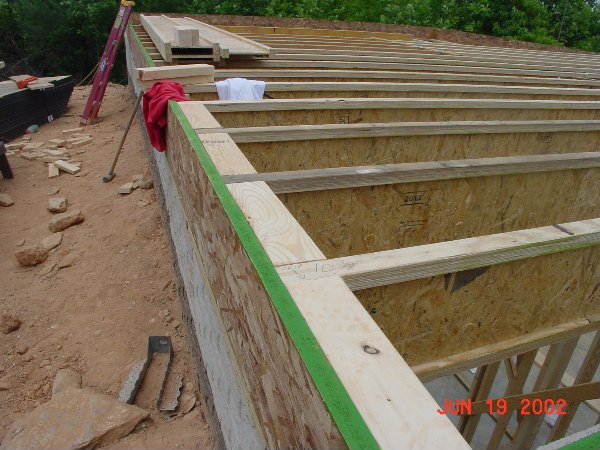
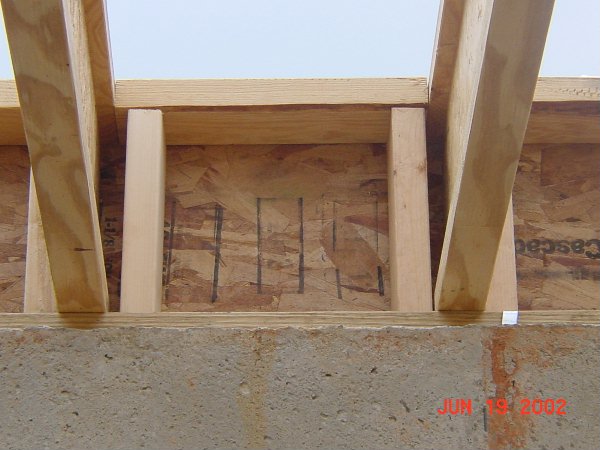
Another view of the floor system with 2x4 blocks in-between to ensure stability.
- 6/19/02
The 2x4 blocks not only prevent the floor joists from twisting, they give you something to bolt the first course of logs into.
- 6/19/02
Another view for those of you soon-to-be house builders.
- 6/19/02
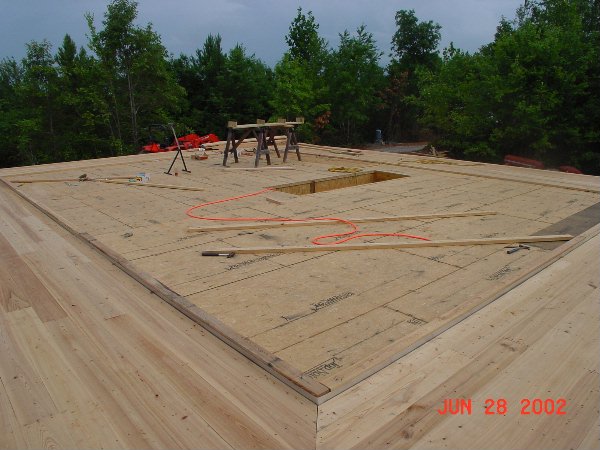
Gluing the top of the floor joists to prepare for the plywood.
- 6/20/02
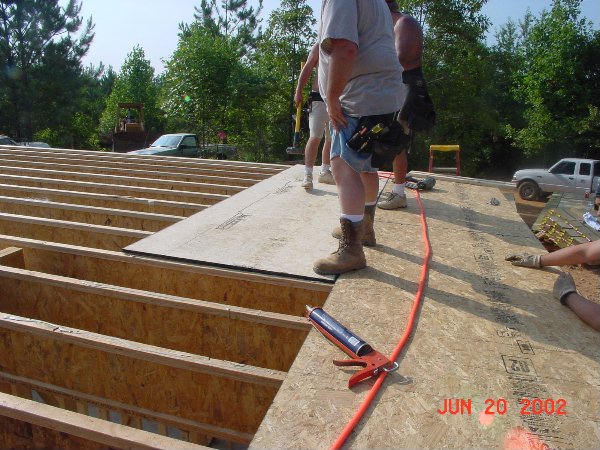
The crew slaps down another piece of plywood.
- 6/20/02
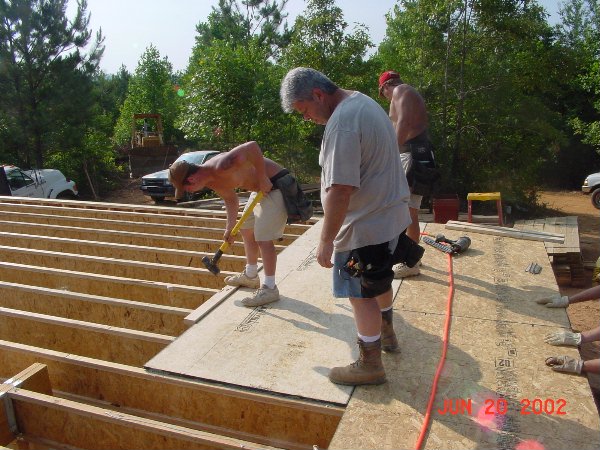
(Left to right) Derek, Ben, and David are hard at work.
- 6/20/02
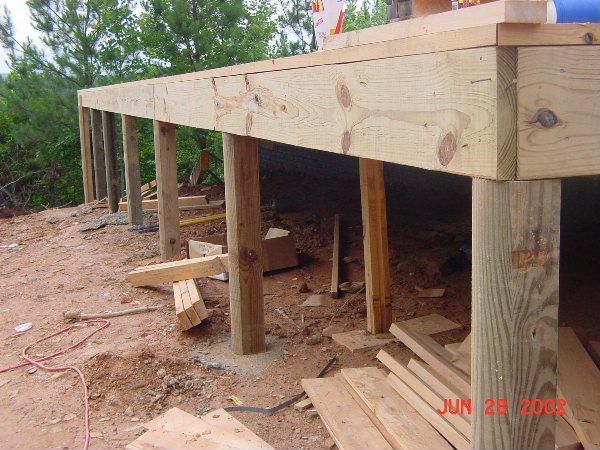
A finished look at the permanent deck posts (we used 6x6 pressure treated pine D-logs).
- 6/28/02

The highly technical reason why we used D-logs for posts was because we had them.
- 6/28/02
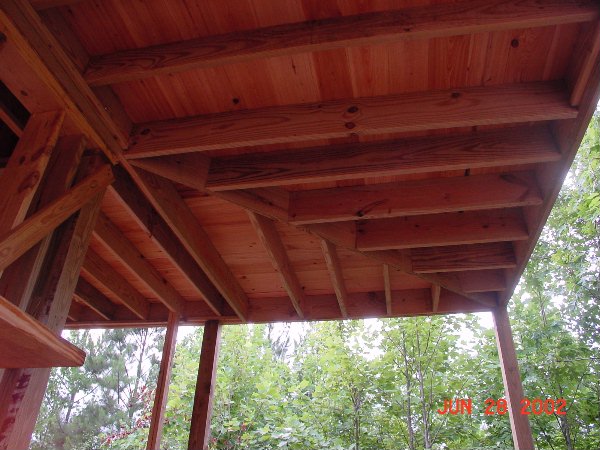
Here we have a nice view of the 2x8 treated pine deck joists on 16" centers covered with cypress 2x8 decking.
- 6/28/02
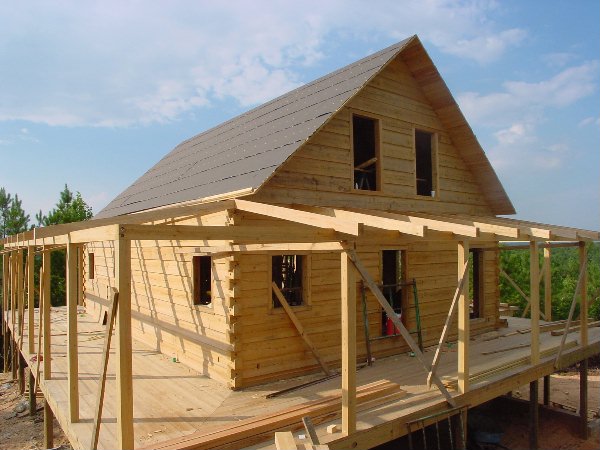
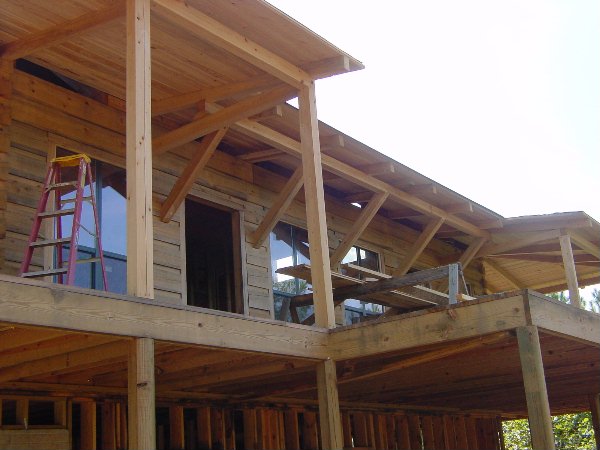
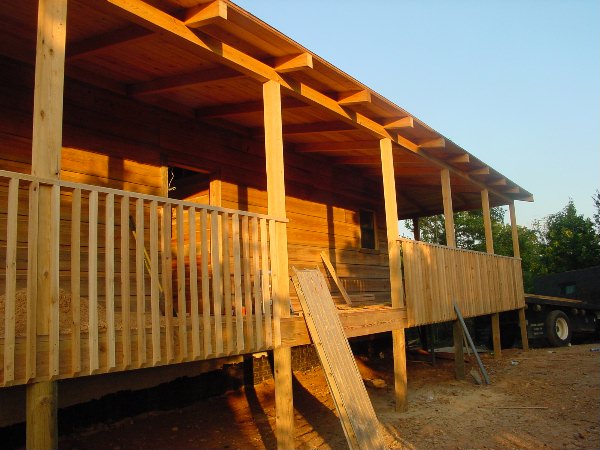
The house with a wrap-around deck covered with 2x8 cypress decking.
- 6/28/02
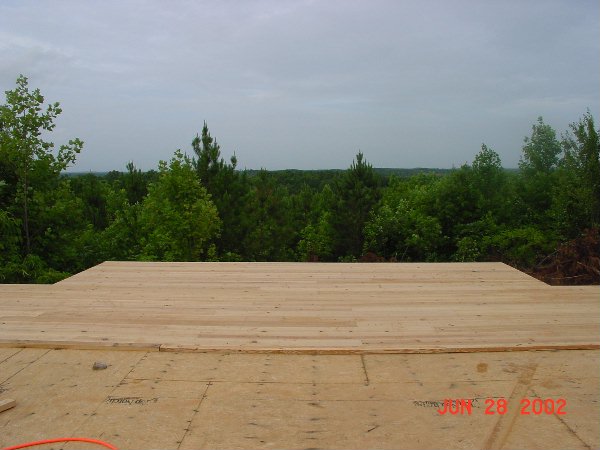
Here we see the 6' extension beyond the regular 8' deck (not to mention a great view).
- 6/28/02
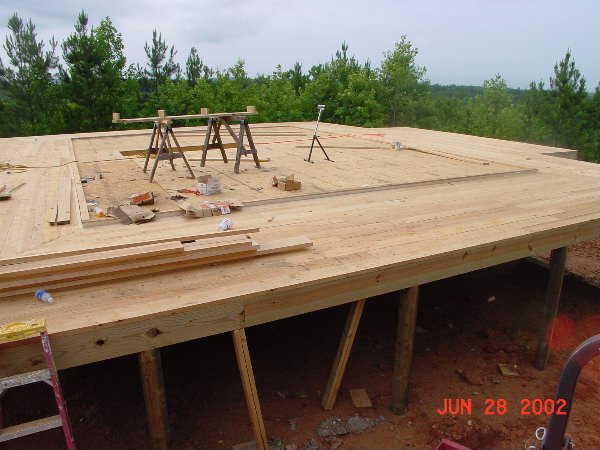
Another basic view of the house from atop the tractor.
- 6/28/02

A view from the front side of the house.
- 6/28/02
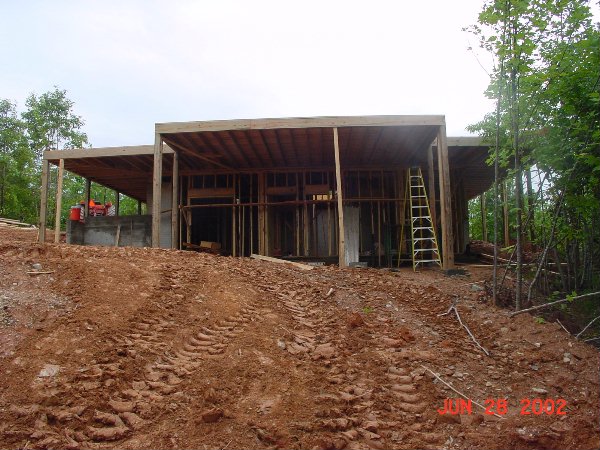
A view from the backside.
- 6/28/02

A close-up of the unsanded decking.
- 6/28/02
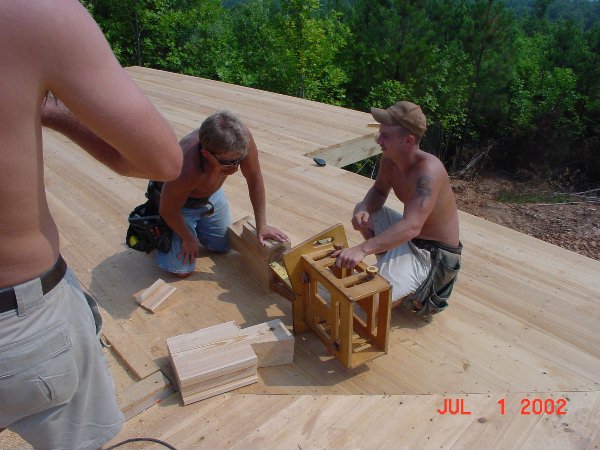
An action shot of the calibration of the templates for cutting the dove-tail corners.
- 7/01/02
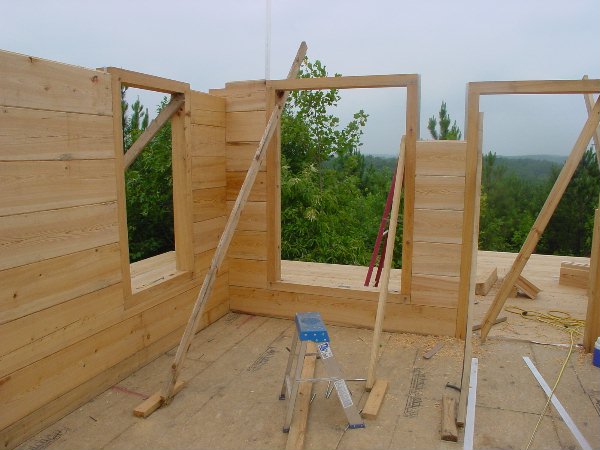
Framing around the doors with 4x6 cypress timbers.
- 7/01/02
Our motto here is "If you're not good at it, at least look good doin' it." Just kidding Kelly, you're doing a great job of plumbing the door wrap.
- 7/01/02
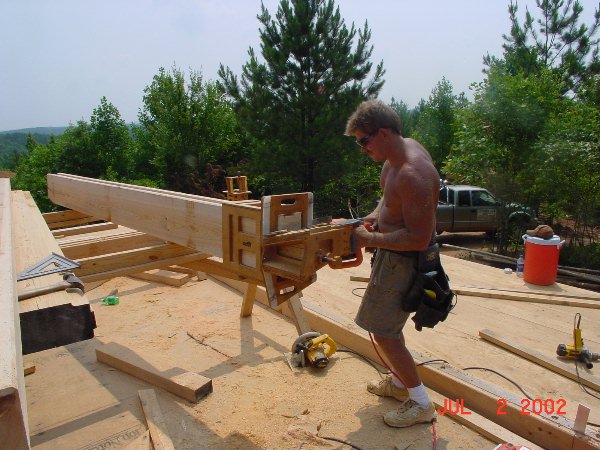
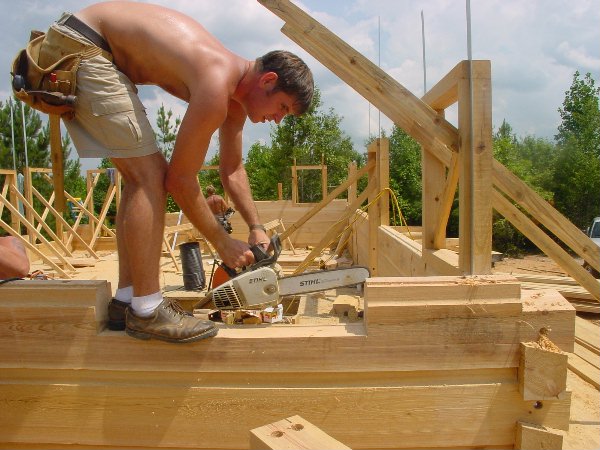
David Hendrix makes a corner cut for a dove-tail corner with a chain saw.
- 07/02/02
Here he goes again, but don't get too excited girls, he's married.
- 07/02/02

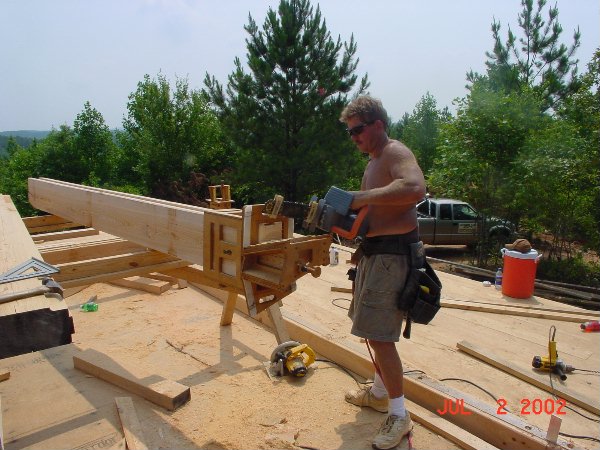
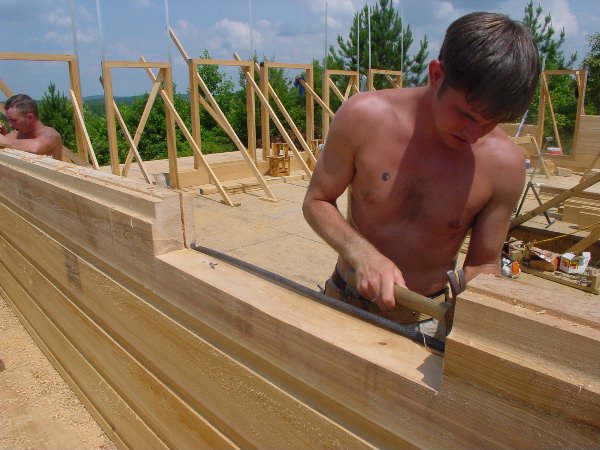
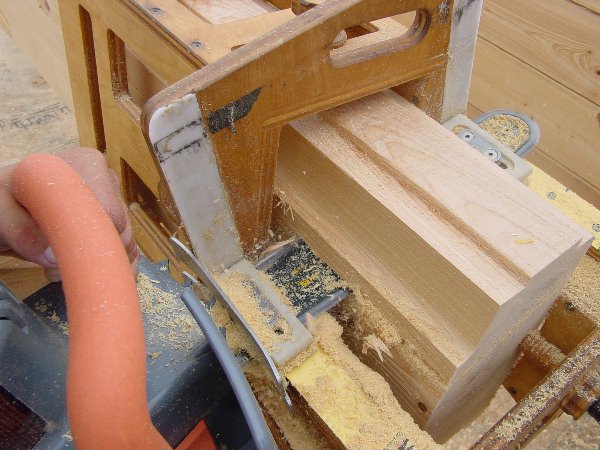
David uses a power saw with a double blade to make the cut where a spline will go.
- 07/02/02
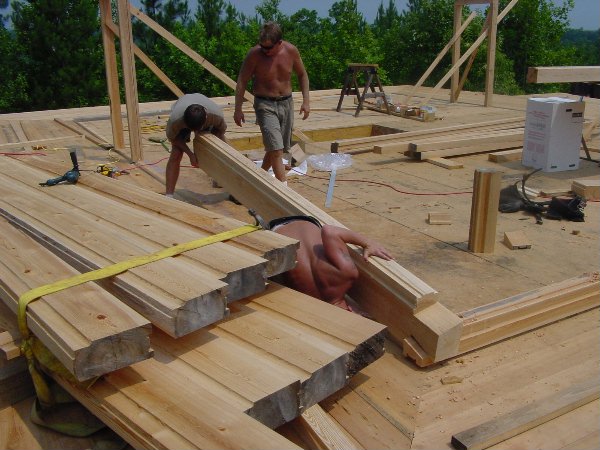
The crew sets a corner log while making sure the flashing fits up into the log.
- 07/02/02
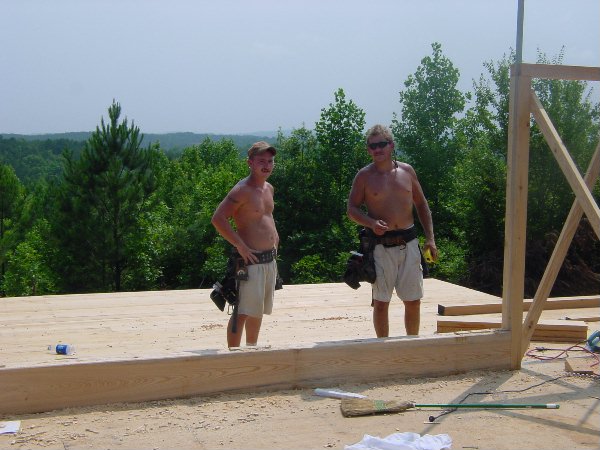
David Hendrix and Derek Watson; they don't just do it right, they look good doin' it.
- 07/03/02
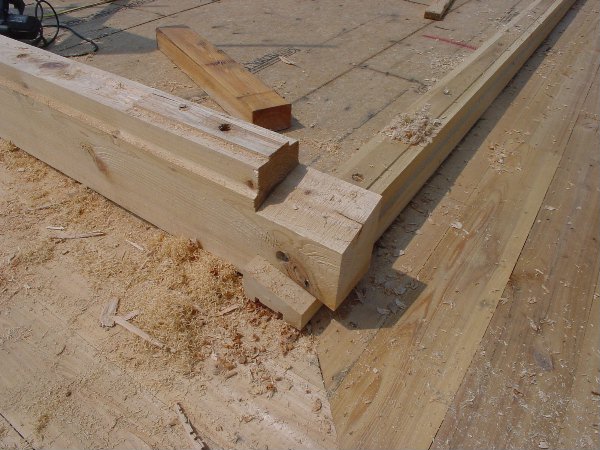
A dove-tail corner on the first row of logs between the normal 6x12 and the shorter starter log.
- 07/03/02
A nice view of the house with our rottweiler, Kai, looking on.
- 07/03/02

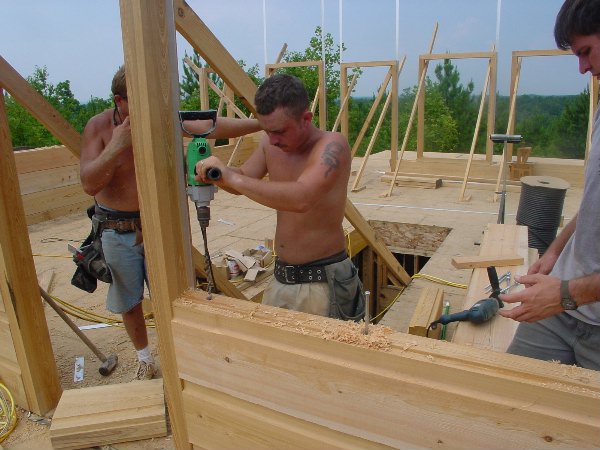
Kelly, David, and Derek as they finish drilling a hole in the log to run a wire for an electrical outlet
- 07/05/02
David strikes a Rambo pose as he attempts to adjust the logs position.
- 07/05/02
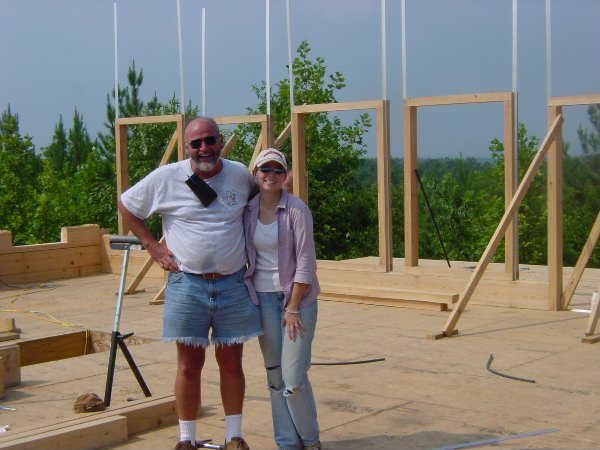
My dad, Ed Croker, and my girlfriend, Danielle Johnson, as they stop for a pose in what will one day become a closet.
- 07/05/02
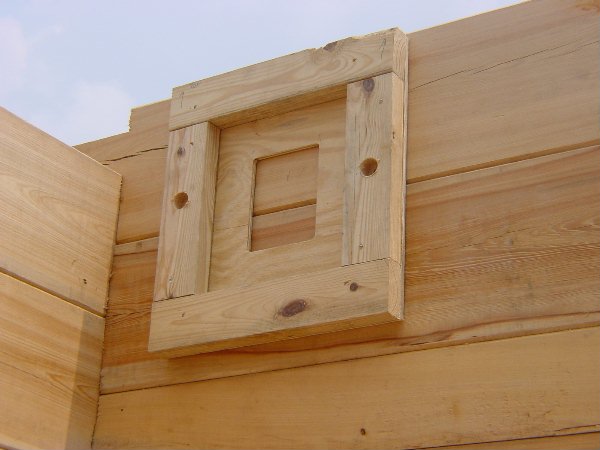
Here we have a nice cutout in the log where the 4x6 window wrap will be set.
- 07/05/02
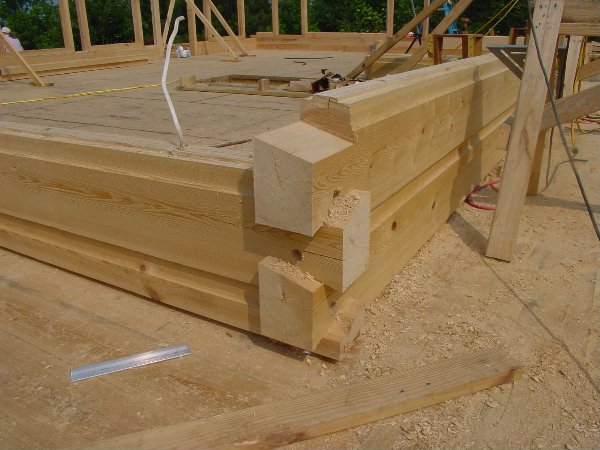
The bolts in dove-tail ensure corner stability and are later plugged and sanded for a nice finished look.
- 07/05/02
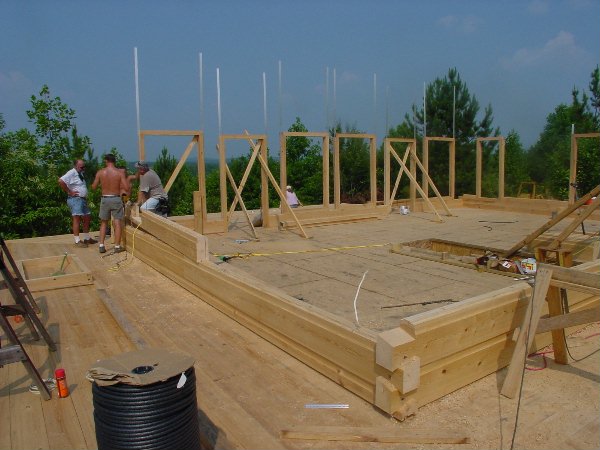
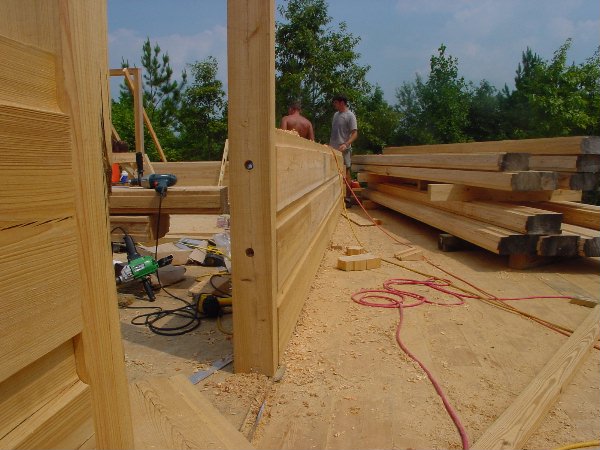
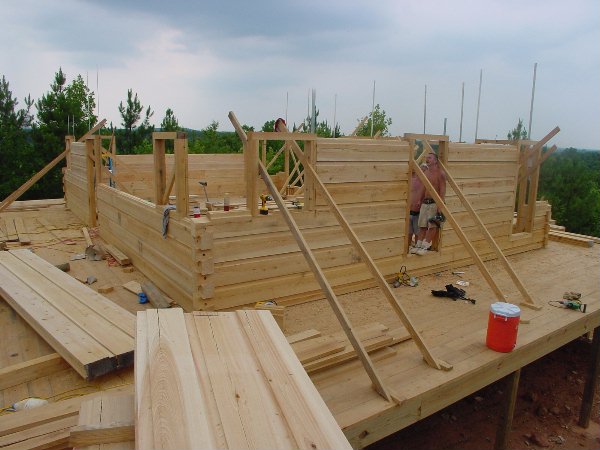
Work has been going slow, though the house is really starting to take shape.
- 07/05/02
The aluminum splines on the side of the door and window wraps provide extra protection for wind and water leaks.
- 07/05/02
A new week, and we keep grinding away...
- 07/08/02
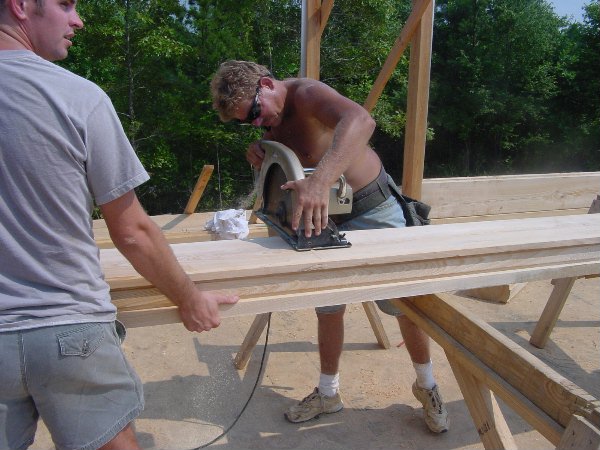
Here is the process we have been using for laying logs.
Step 1: Cut the log to fit.
(I know it's complicated but stay with me on this)
- 07/08/02

Step 2: Make cuts for splines, where applicable.
- 07/08/02
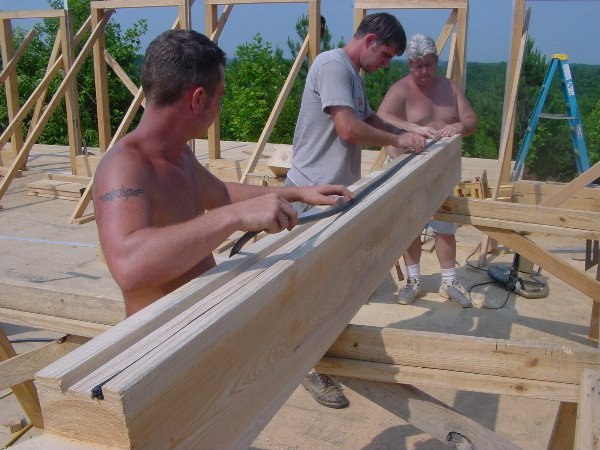
Step 3: Stick two strips of foam tape into the grooves on the underside of the log. Now it is ready to be set.
- 07/08/02
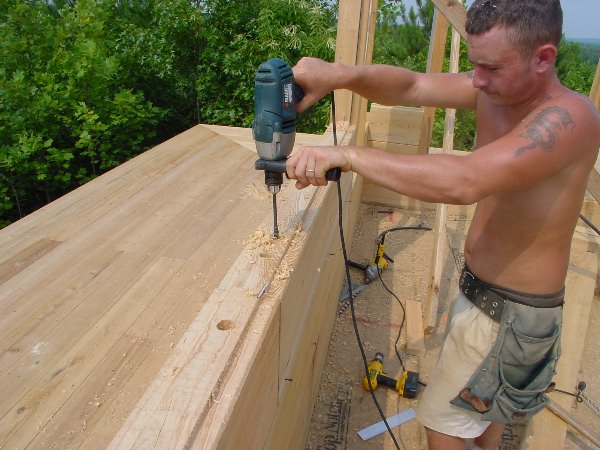
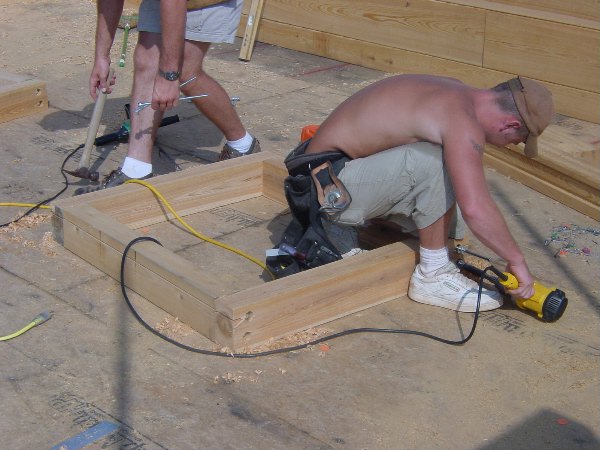
Step 4: Drill holes large enough to recess the bolt and washers.
- 07/08/02
Step 5: Drill a pilot hole through the top log.
- 07/08/02
Step 6: Flush the log to the one below it and use an impact wrench to bolt the logs together.
- 07/08/02
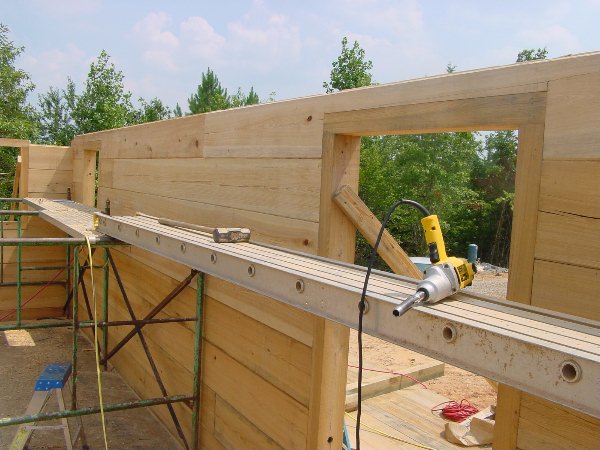
Here we bolted the log to the door wrap. Elementary, my dear Watson...
- 07/08/02
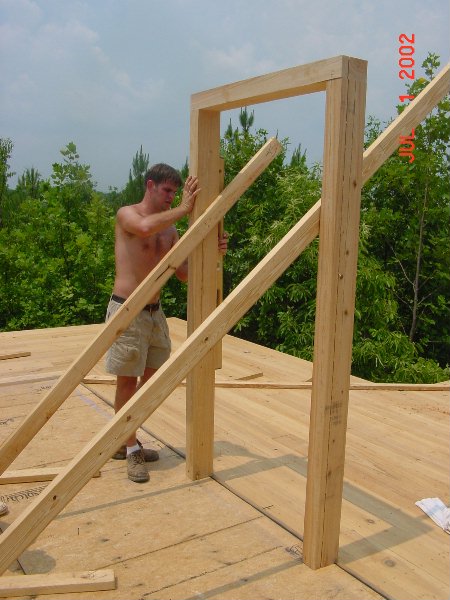
Kelly and Derek build a window wrap out of cypress 4x6's.
- 07/09/02
Kelly makes the spline cut for the window in the notched out log with a chain saw.
- 07/09/02
Now he places two runs of foam tape on the bottom of the notched out log to prevent wind and water leaks.
- 07/09/02

Finally, the window is placed in and bolted down.
- 07/09/02
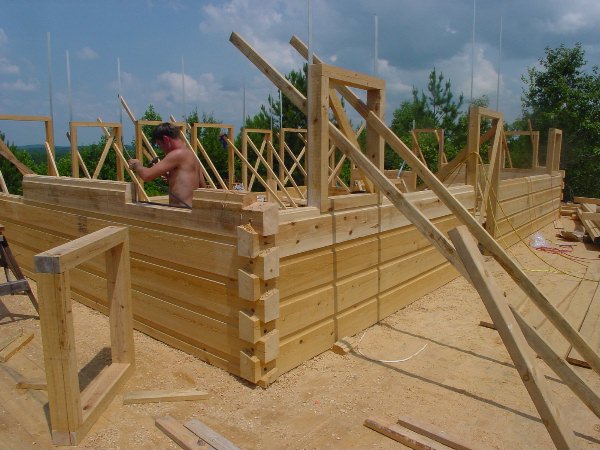
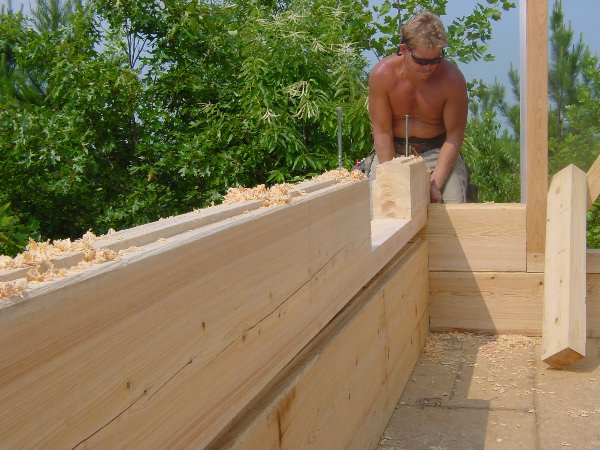
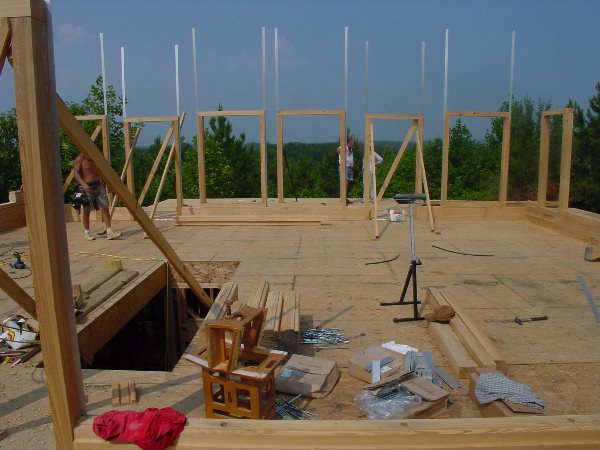
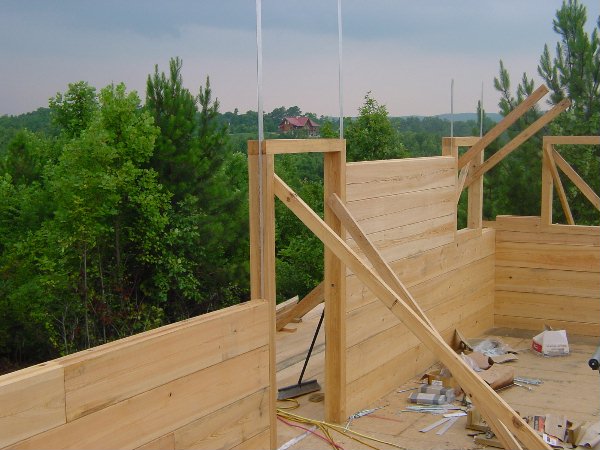
It sure is fun to watch those walls get higher and higher!
- 07/09/02
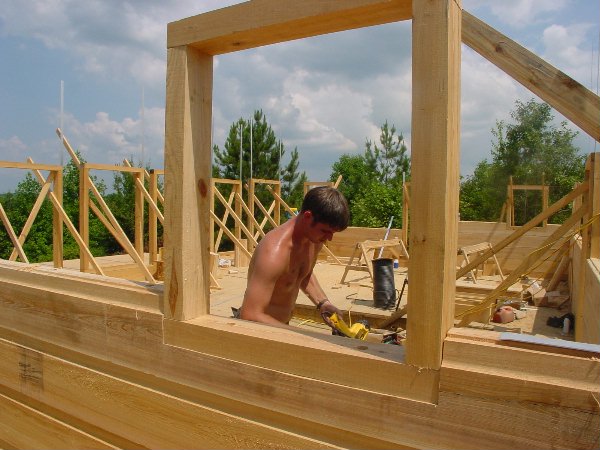
"I was framed!" claimed Kelly.
- 07/09/02

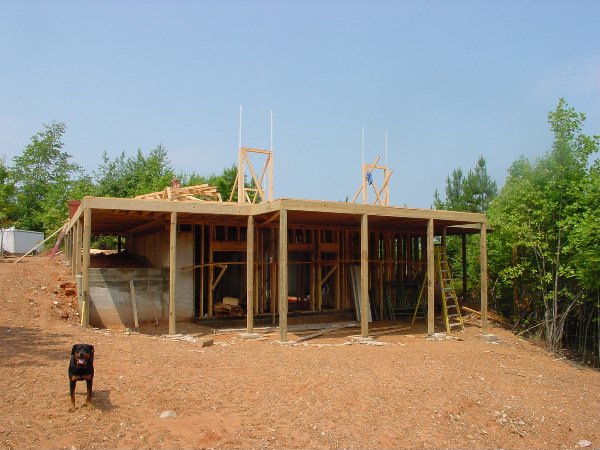
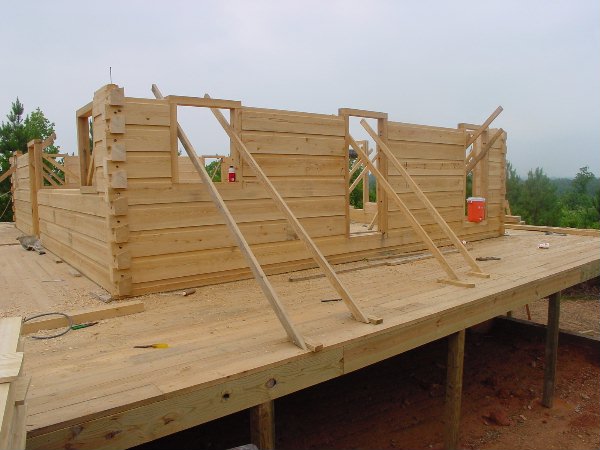
Okay, I'm not a professional photographer, but regardless the house is looking good.
- 07/10/02
From atop the dump truck, the progress on the house shines forth.
- 07/10/02

The crew spends some time making sure the corner is plumbed and square.
- 07/11/02
At a distance, my current residence can be seen above the door frame.
- 07/11/02
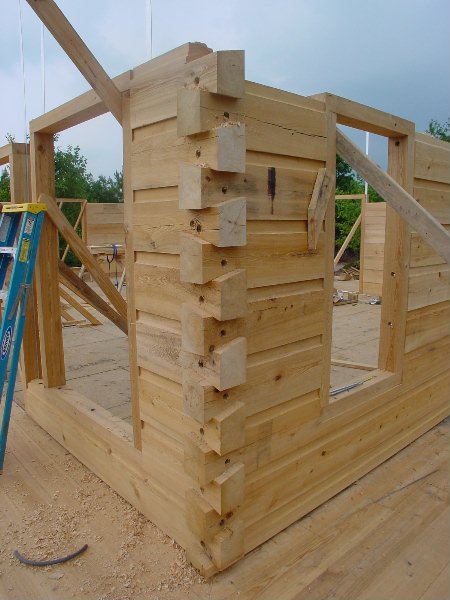
A beautiful corner. And in the words of Forest Gump, "That's all I have to say about that."
- 07/11/02
The cloud covered sky today was a nice break from the 95+ degree working environment.
- 07/12/02
We got all the corners up to the window level today and started putting in the short log segments.
- 07/12/02
This is for those who wanted a better look at the setup for cutting the dove-tail corners.
- 07/12/02
Today we finished laying the short log segments in the back wall.
- 07/16/02
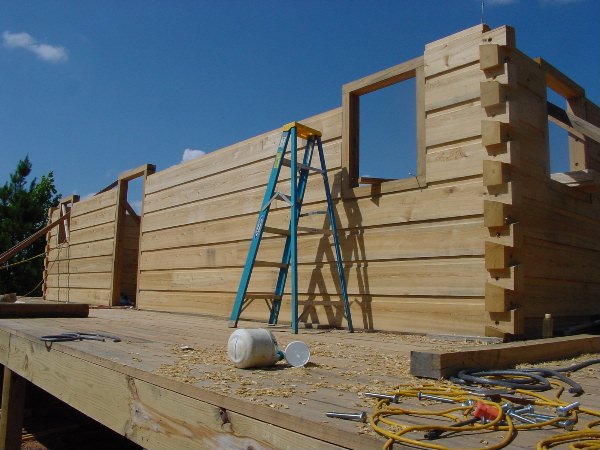
Despite the missing David (who happens to be going to a weeklong revival), we keep moving along quite well.
- 07/16/02
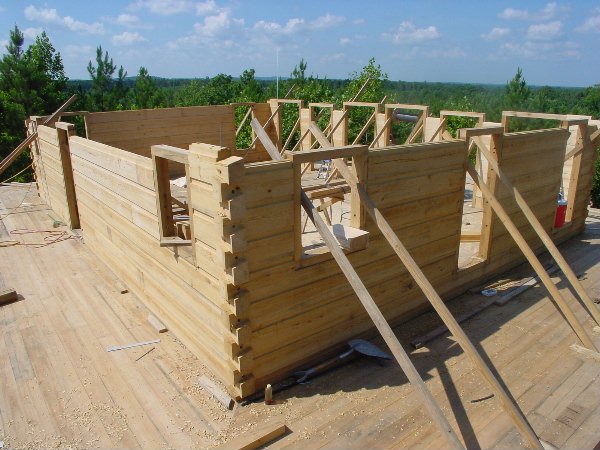
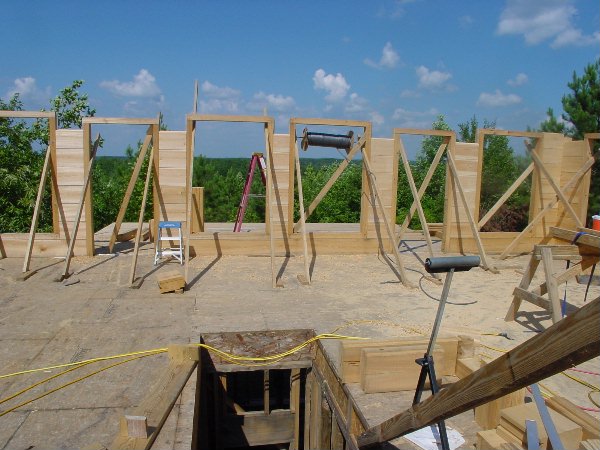
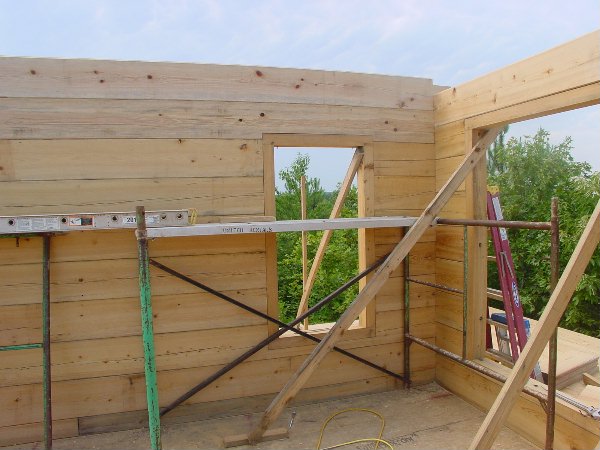
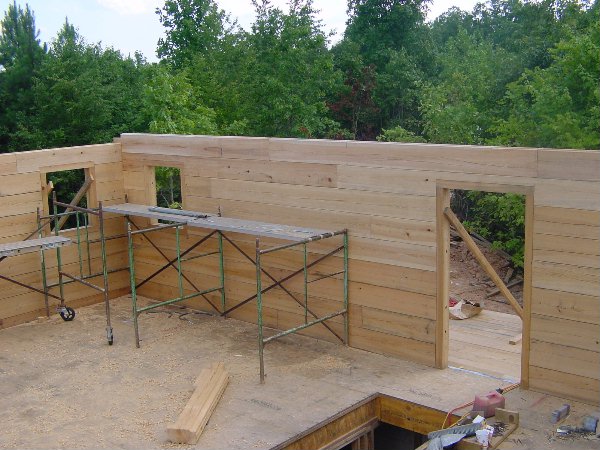
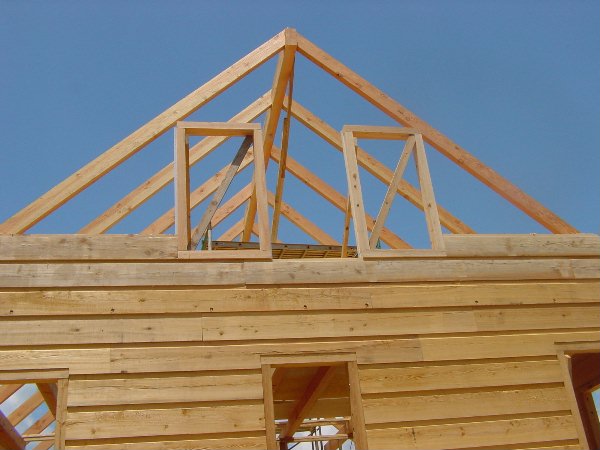
We are now officially 7 courses up, and are ready to start cutting in the tops of the windows.
- 07/16/02
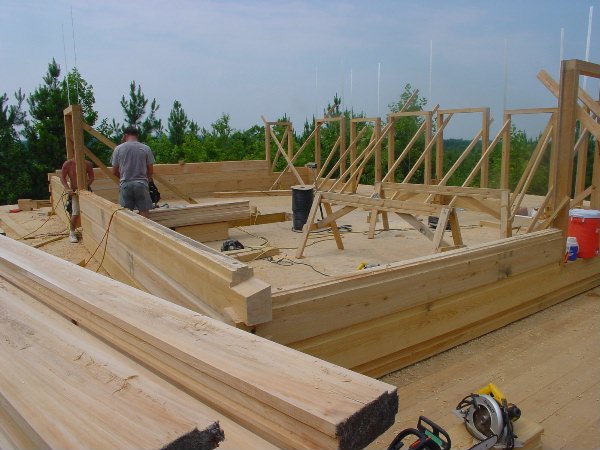
This morning we set up the scaffolding to avoid trying to set these logs over our heads.
- 07/17/02
Cutting the logs that go above the windows and doors is slow and tedious, but the results are nice.
- 07/17/02
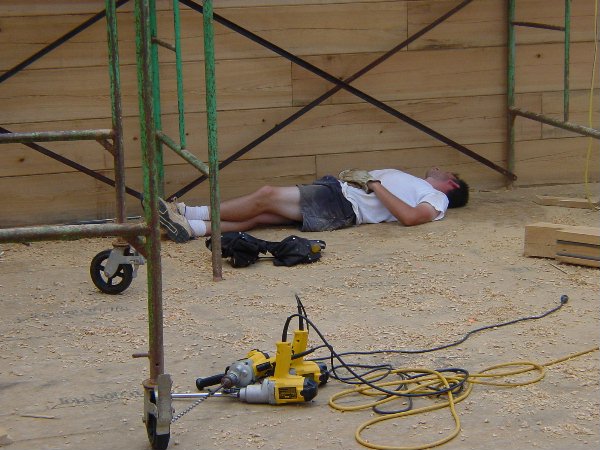
The crew catches me in a moment of Zen. Due to extreme farmer's tan on legs, parental guidance is suggested.
- 07/19/02
After cutting a log 3 or 4 times and it still being too short, we finally get 9 1/2 courses up on this section of the house.
- 07/19/02
At the end of today, we're only 1 course shy of our 10 course goal. Hopefully this means that roof will be started next week.
- 07/19/02
Ben Hitchcock cleans out a corner cut with a chisel for our LAST log.
- 07/22/02

The crew sets the final log and there was much rejoicing throughout the land.
- 07/22/02
.jpg)
Above the finished log walls, Derek ponders the meaning of life.
- 07/22/02
Here is Ben's jig made on the spot for routing out the logs to insert the second floor beams.
- 07/23/02
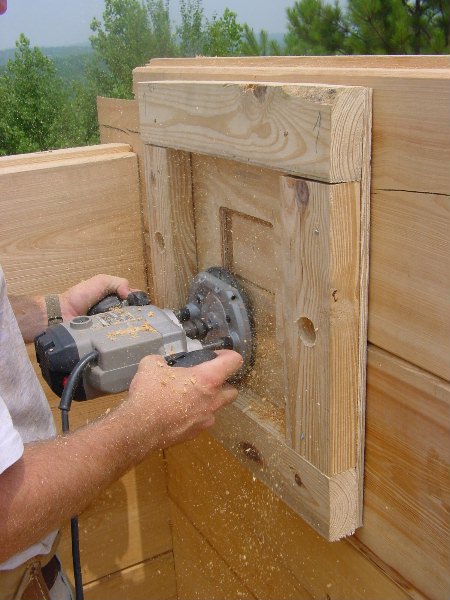
Here we have an anonymous set of arms using a router to cut into the logs.
- 07/23/02

Derek chisels out what is left making a hole 1 1/4" deep.
- 07/23/02
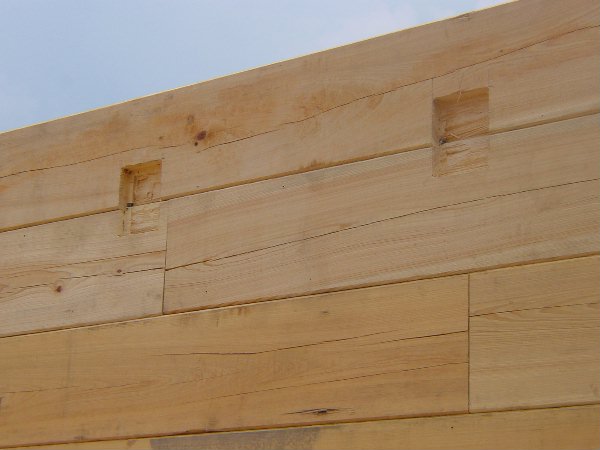
Now the wall is ready for the second floor beams.
- 07/23/02
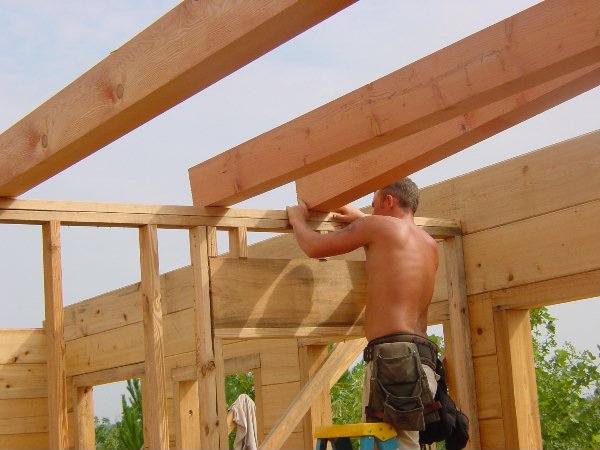
Derek helps set a second floor beam.
- 07/24/02
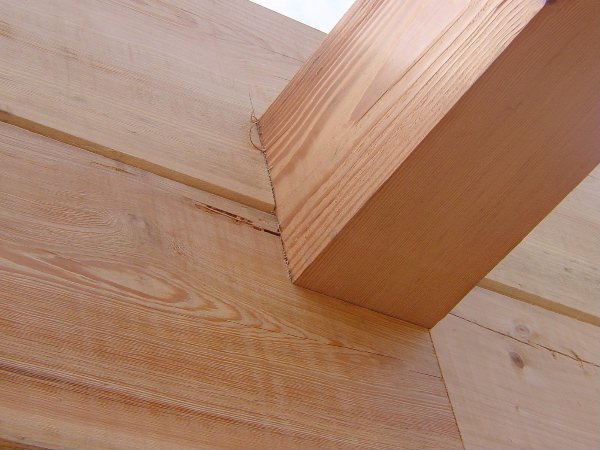
Here we see the beautiful fruits of our routing labor.
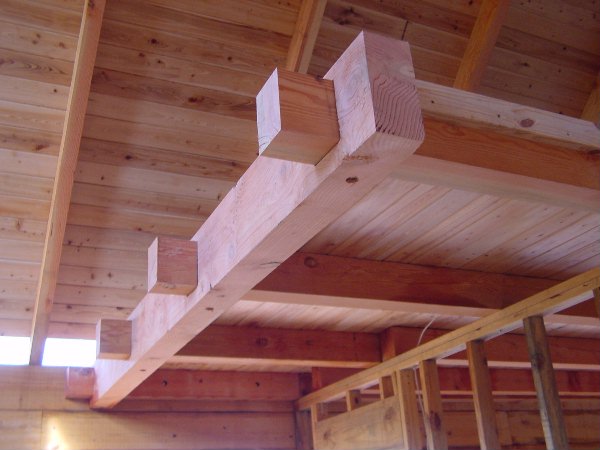
- 07/24/02

The extra long beams are for a platform at the top of the stairs.
- 07/24/02
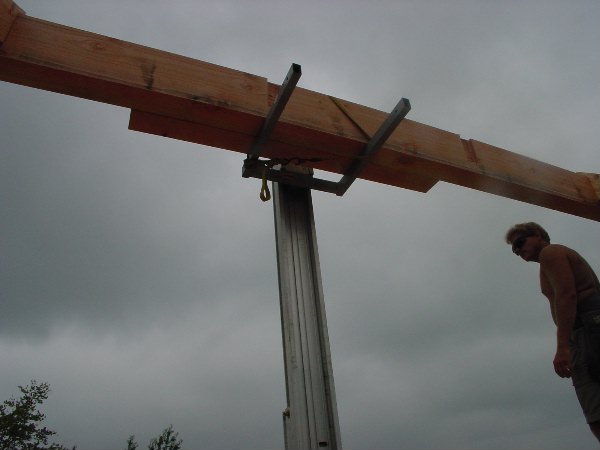
Amidst threatening weather, we use a hand cranked lift to set the 6x12 ridge beam.
- 07/25/02
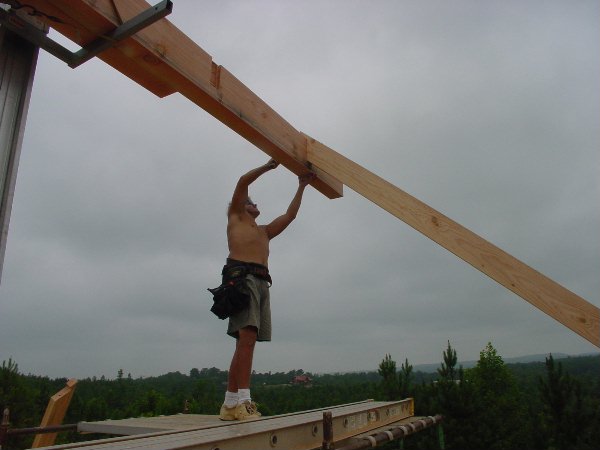
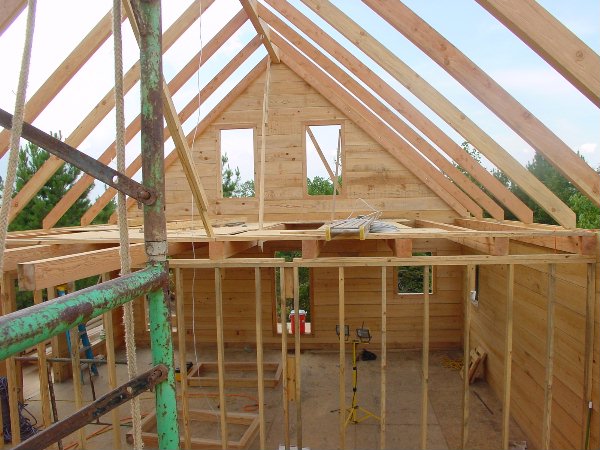
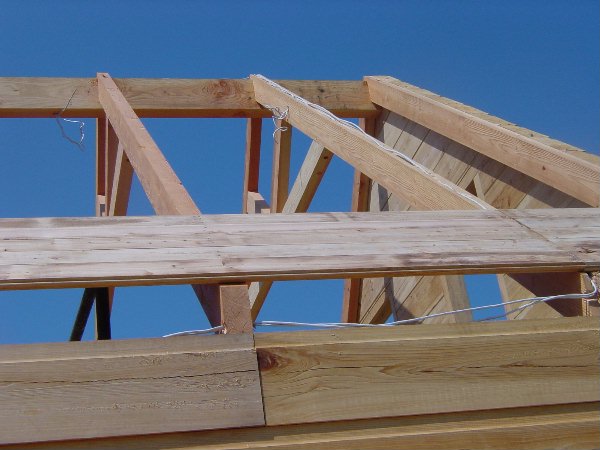
David and the crew sets a rafter to the ridge beam.
- 07/25/02
By the end of the day, the weather has cleared up and we are done with our rented lift.
- 07/25/ 02
.jpg)
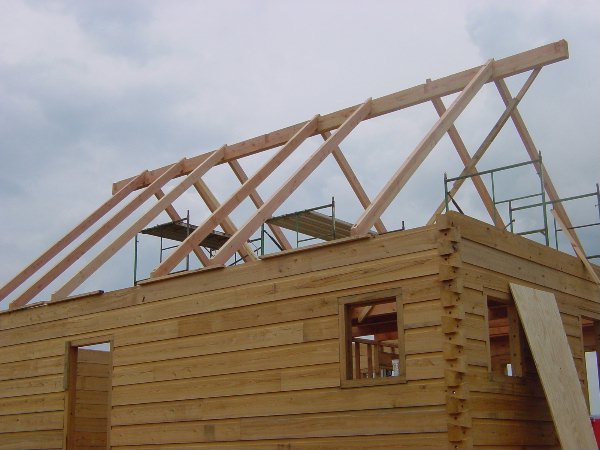
Tomorrow we should finish putting the rafters up. Still, it's not like it's going anywhere.
- 07/25/02
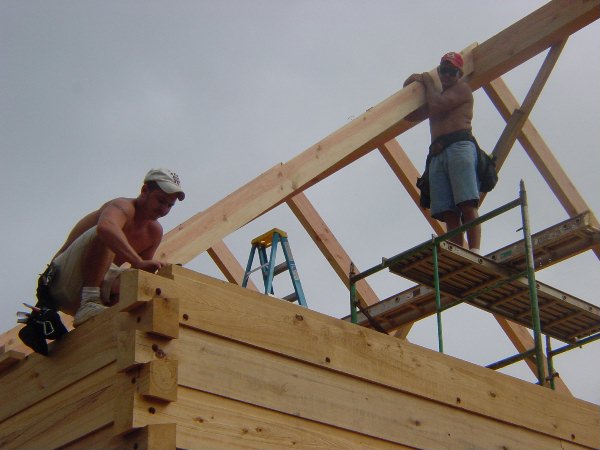
Here we have Derek and David prepping before they set the last rafter.
- 07/26/02
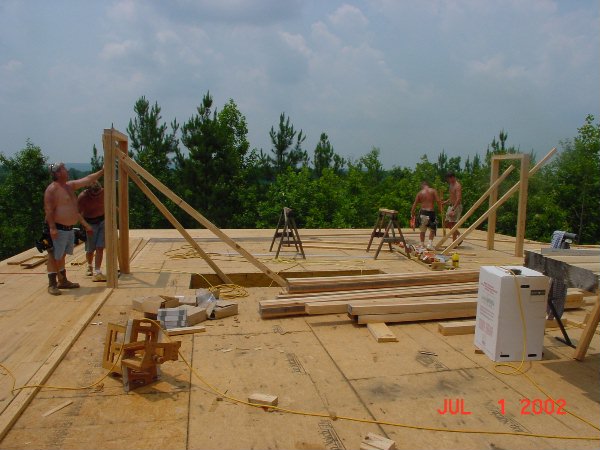
Today we started laying logs in the gable ends.
- 07/29/02
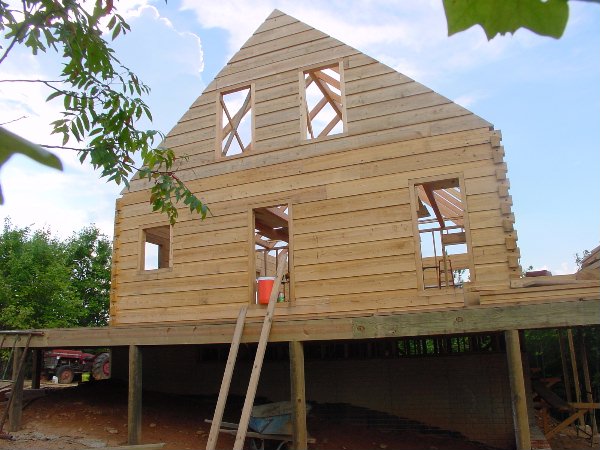
From this angle, doesn't it look like one of those fake buildings on a Hollywood set?
- 07/30/02
One gable end done, one to go...
- 07/30/02
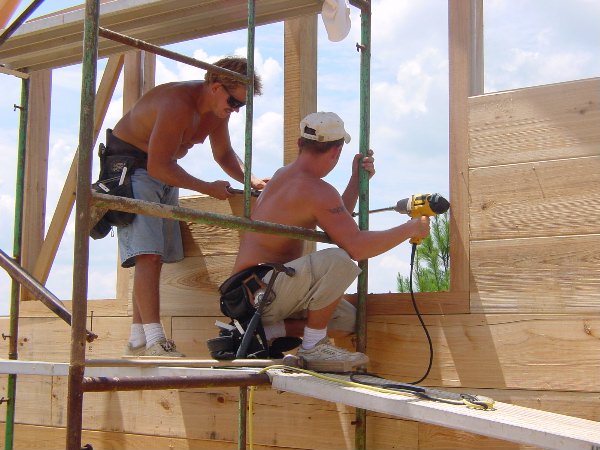
Atop scaffolding in the remaining gable end, the crew bolts a log to the window wrap.
- 07/31/02
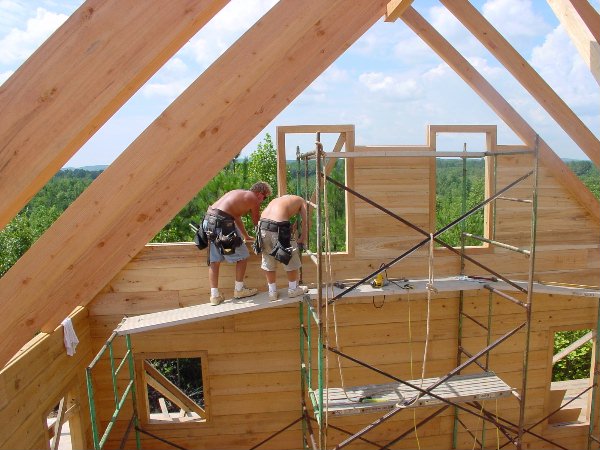
Yes it's true, this crew is anything butt ordinary...
- 07/31/02
To get lights high in the great room, the crew ran wire in a chain saw groove made on the back of a rafter.
- 08/05/02
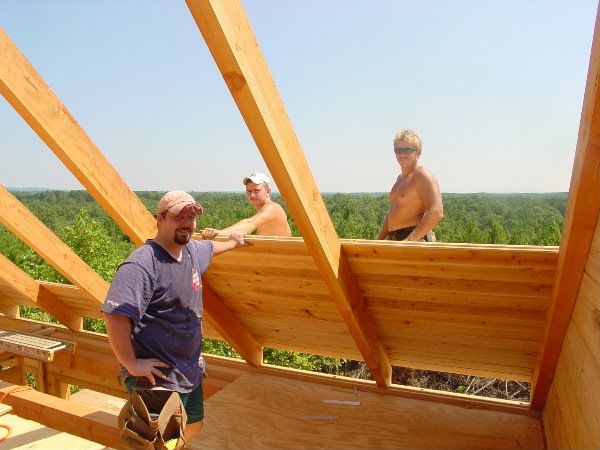
John, Derek, and David take a second to pose.
- 08/05/02
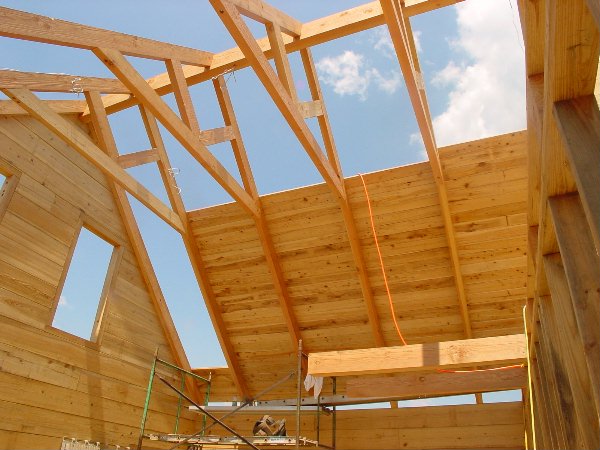
The rising decking...
- 08/05/02
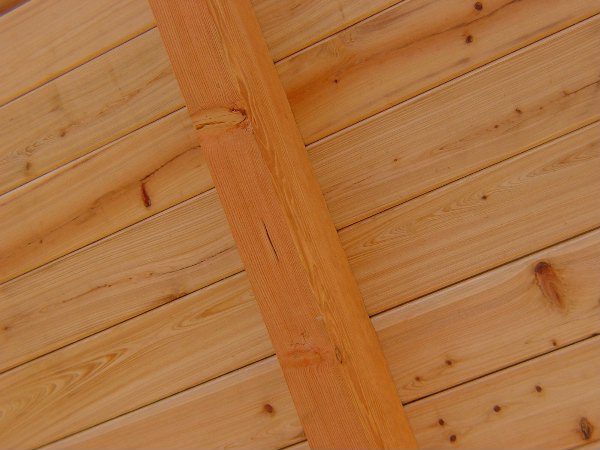
Cypress 2x6 T&G on douglas fir 4x8 rafters.
- 08/06/02

"Pardon me, do you have any grey poupon?"
- 08/06/02
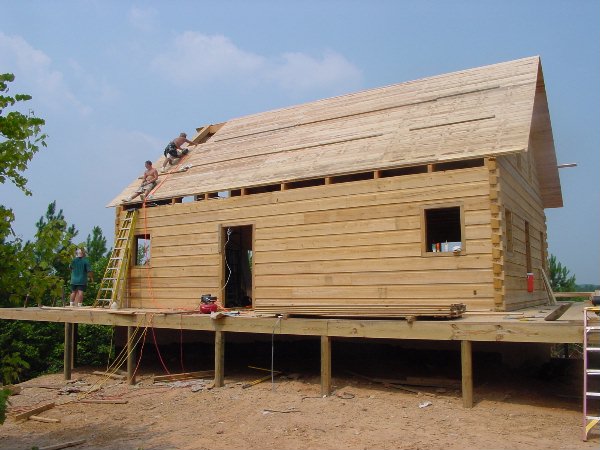
Finishing up the roof and ready to go home.
- 08/06/02
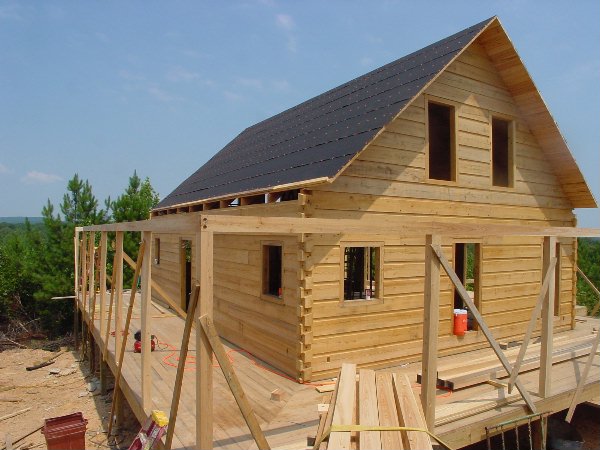
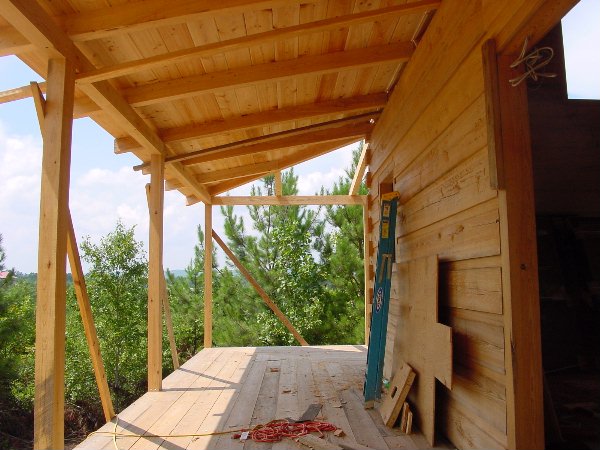
Tar paper on roof, and 5x6 cypress porch posts and wraps set.
- 08/08/02
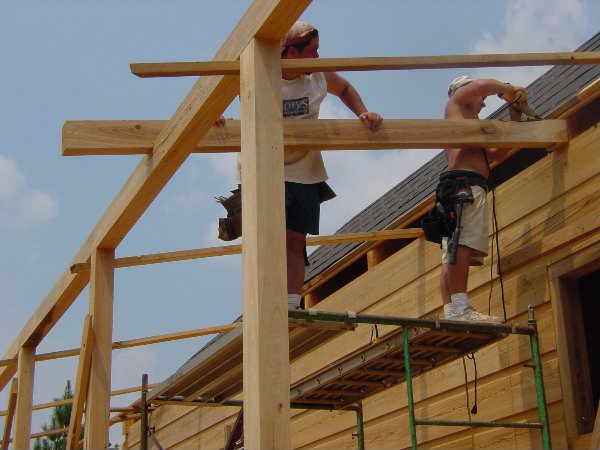
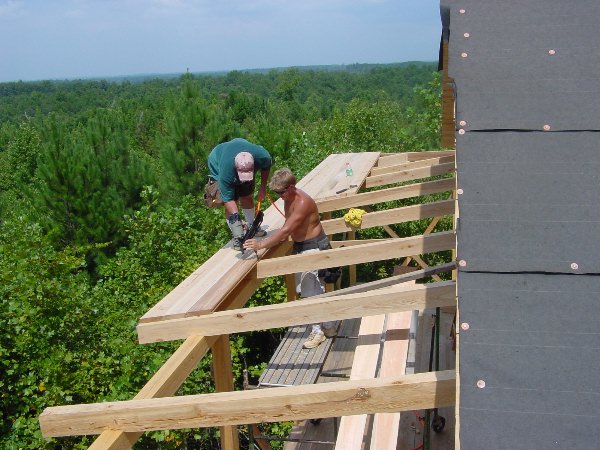
John and Derek set a 4x6 porch rafter.
- 08/09/02
Porch rafters on three sides have been set.
- 08/13/02
Done with the rafters...on to decking.
- 08/15/02
Here on the porch, we're going with cypress 2x8's.
- 08/15/02
Kelly and I routed all the way through a doug fir 6x12 so that the second floor landing joists could stick through it.
- 08/16/02
Check out the neat diagonal supports for the recessed porch roof! Ben Hitchcock did this because I didn't want a post in the middle of the deck.
- 08/22/02
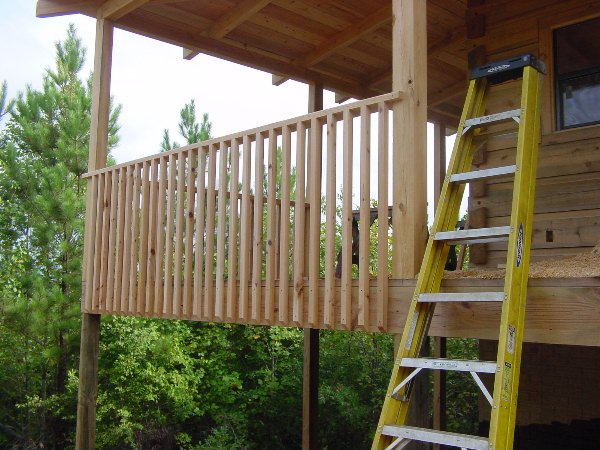
We ripped cypress 2x8's down into 2x2's for the pickets and used screws to attach them to the porch band and to the cypress 2x8 handrail.
- 08/30/02
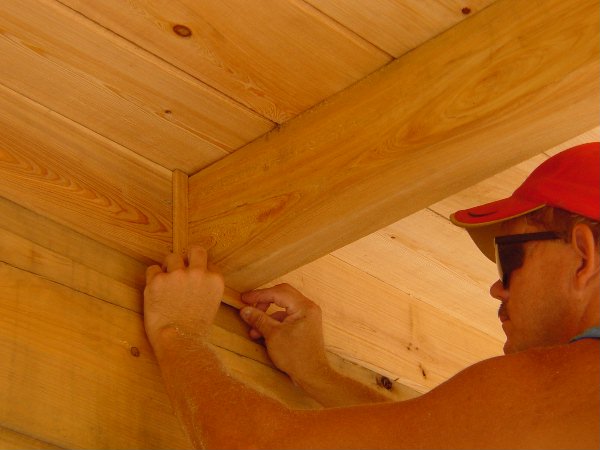
David trims around the porch rafters.
- 08/30/02
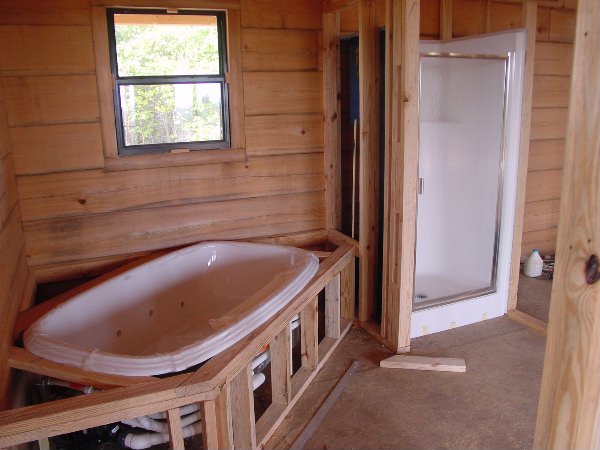
The tub and shower units got set by Ben and our master plumber Russell Farmer.
- 08/30/02

The upstairs bathroom with plumbing rough-in.
- 08/30/02
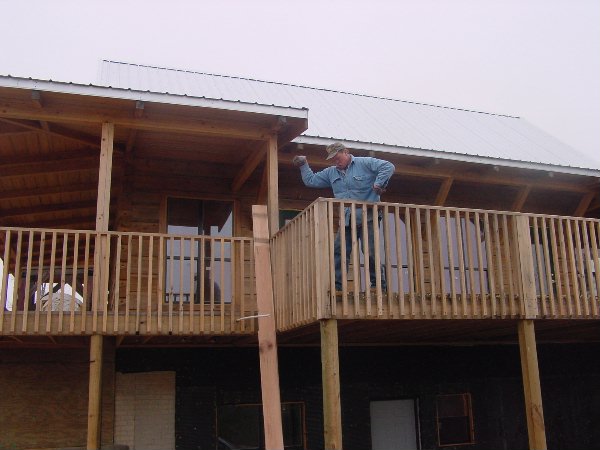
Pickets on the front porch are done...
- 08/31/02

Special thanks to my dad and girlfriend for spending all labor day weekend working on the pickets with me.
- 09/12/02
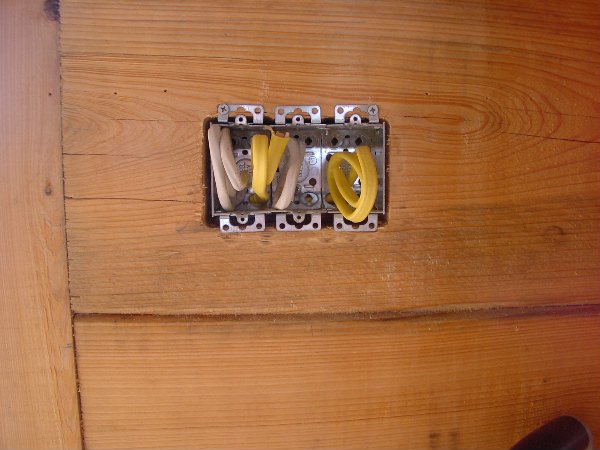
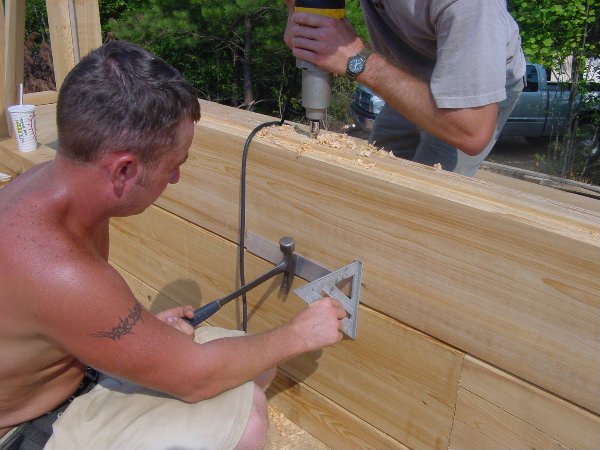
Here we routed out a log for my light switches and drilled horizontally from the door frame to get the wires there.
- 10/01/02
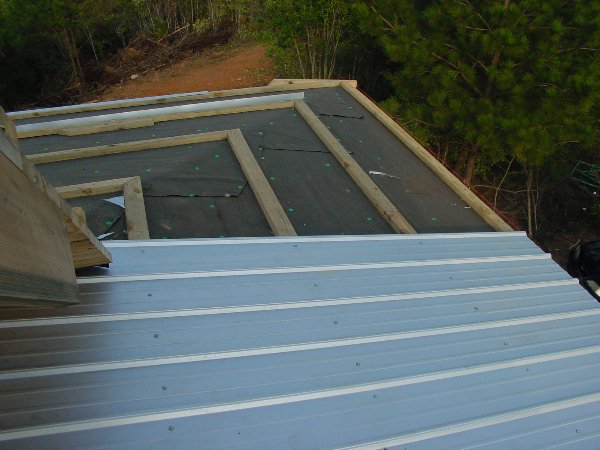
Here we see the the tin porch roof as it is being screwed to the 2x4s underneath.
- 10/01/02

Not too far from being dried in...if the weather cooperates.
- 10/01/02
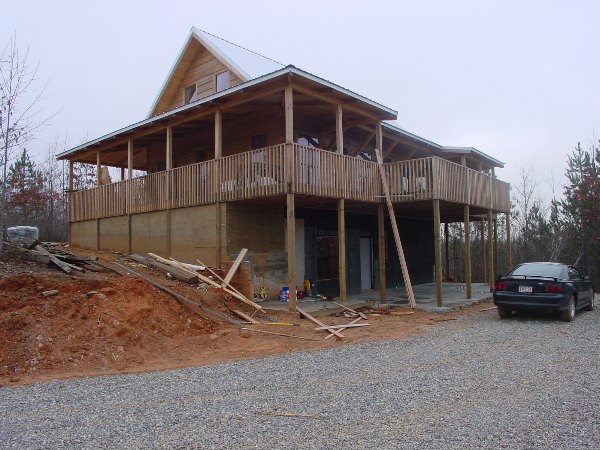
Finally dried in, with a poured concrete patio and a graveled driveway.
- 12/12/02
In the downstairs kitchen, we ran cypress 1x4 beadboard vertically 3 ft up the wall with sheetrock above that.
-12/12/02
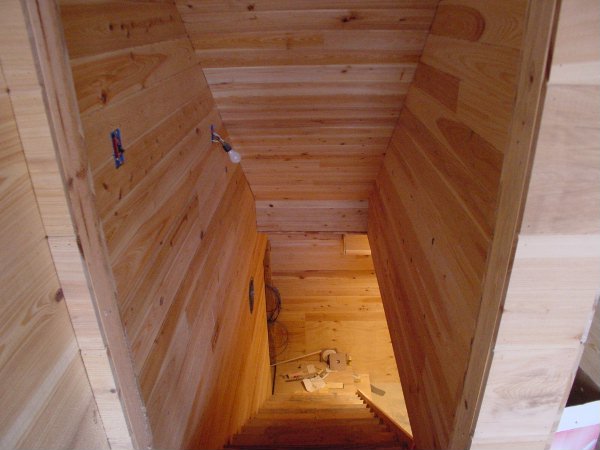
A view of the downstairs stairwell done in 1x6 cypress t&g.
-12/12/02
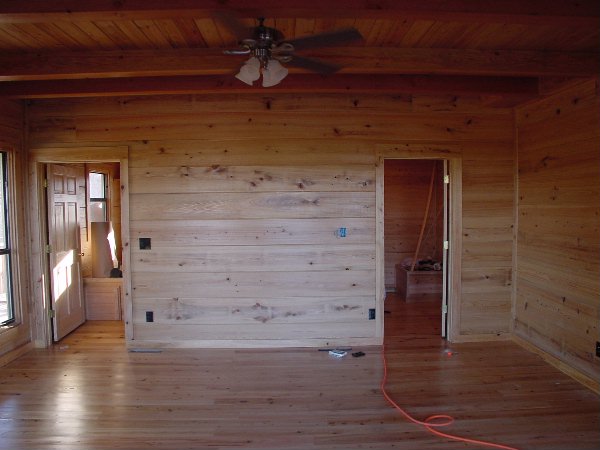
The great room was paneled with 1x12 cypress t&g that would match the log walls.
-12/12/02
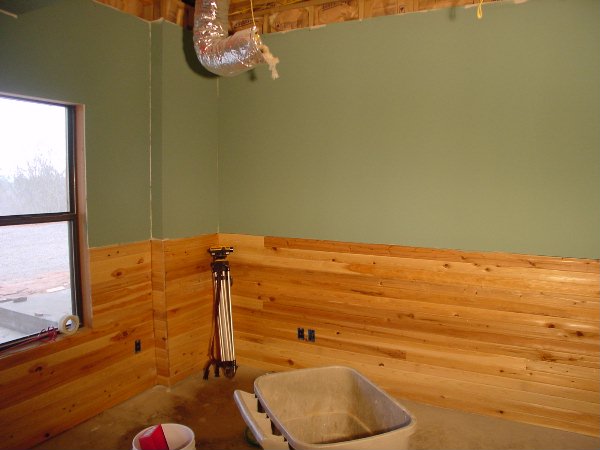
In the downstairs guest bedroom, we ran cypress 1x4s horizontally 3ft up the wall with sheetrock above that.
-12/12/02
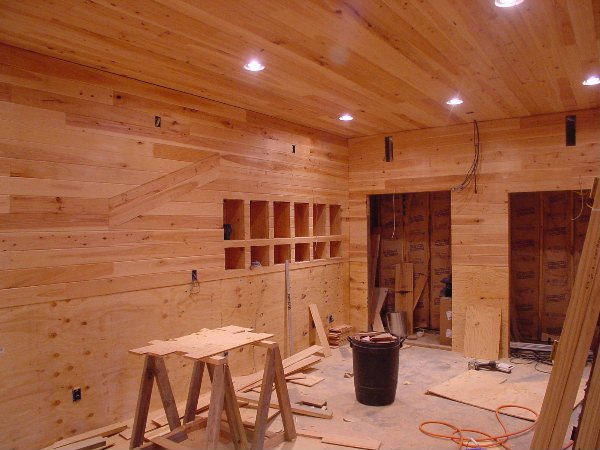
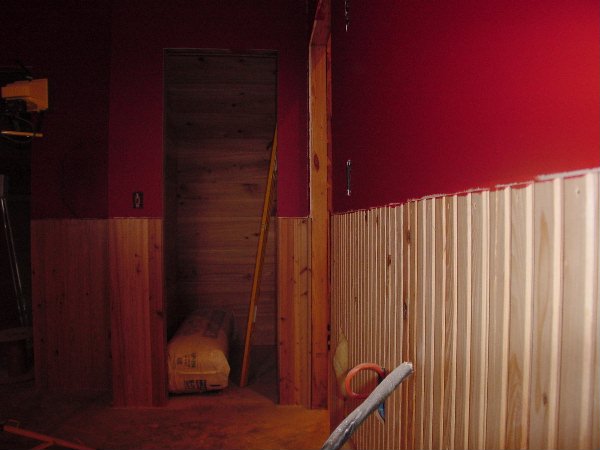
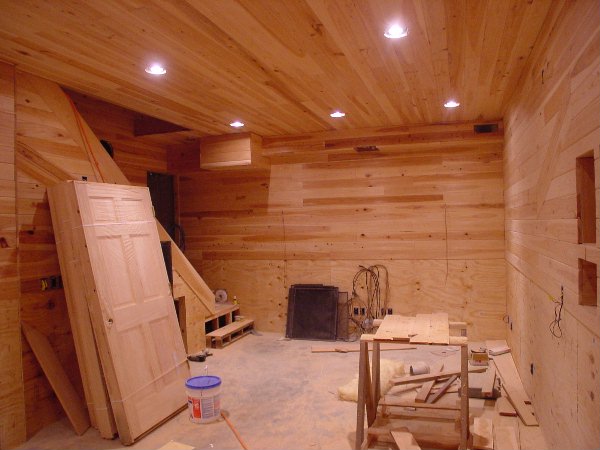
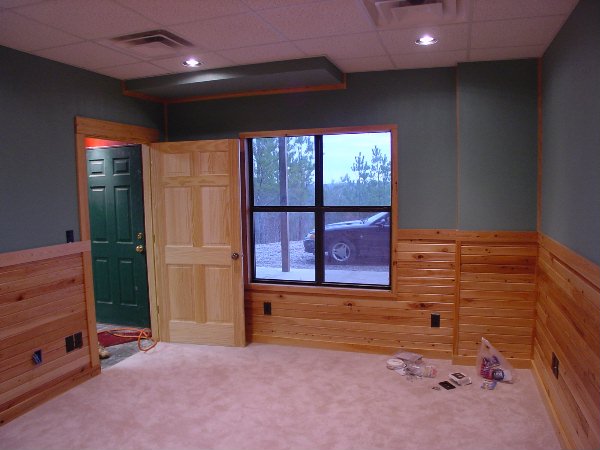
In the theater room, we ran cypress 1x6s for the walls and ceiling, installed recessed lighting and put plywood 4 ft up the walls so it could carpeted.
-12/12/02
Good friend and excellent bass playing fool Randy Haugen puts on a show on my back deck.
- 12/12/02

Senior Kelly was kind enough to take the liberty of purchasing a salt block (seen in yellow) to attract deer around my house.
- 12/12/02

Kelly "the babe magnet" puts down some cypress flooring in my master bathroom.
- 12/13/02
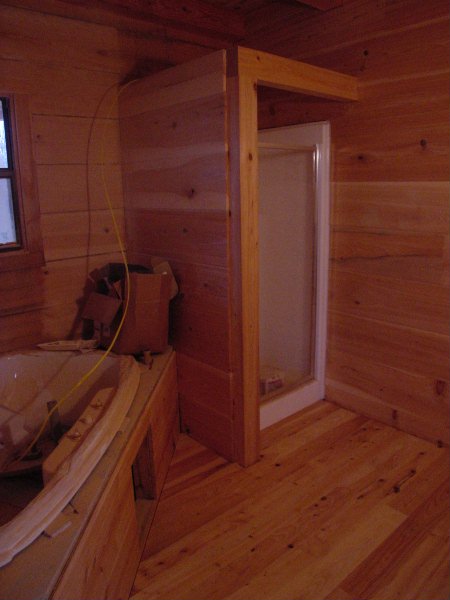
The master bathroom; notice the 4x6 cypress timber framing the shower and the cypress flooring.
- 12/13/02
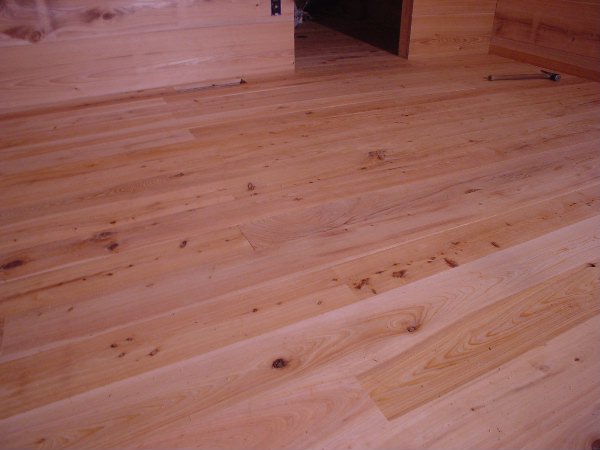
Beautiful cypress flooring in the master bedroom.
- 12/13/02
A look at the front of the theater room. On a side note, simply counting the number of doors in your house multiple times won't always prevent you from ordering an extra 2'6" door.
- 12/13/02
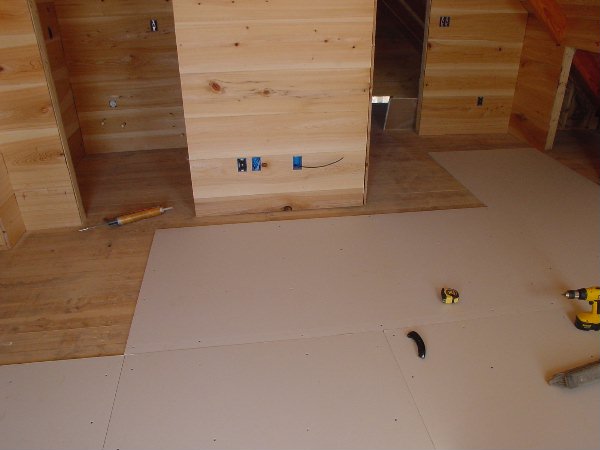
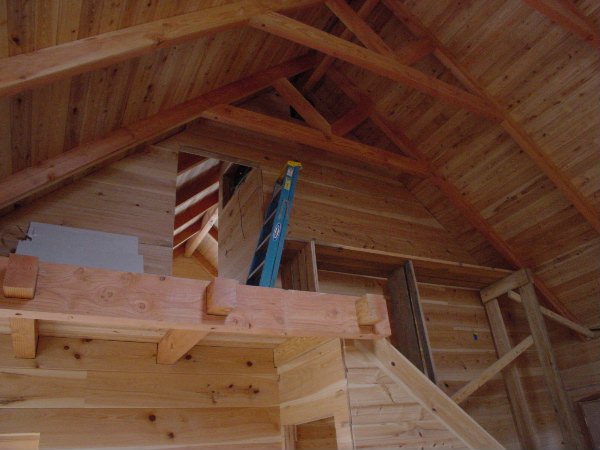
To make the loft a little quieter, we decided to put sheetrock and plywood on top of the 2x6 t&g cypress decking. The greater the static mass, the greater the sound isolation.
- 12/15/02
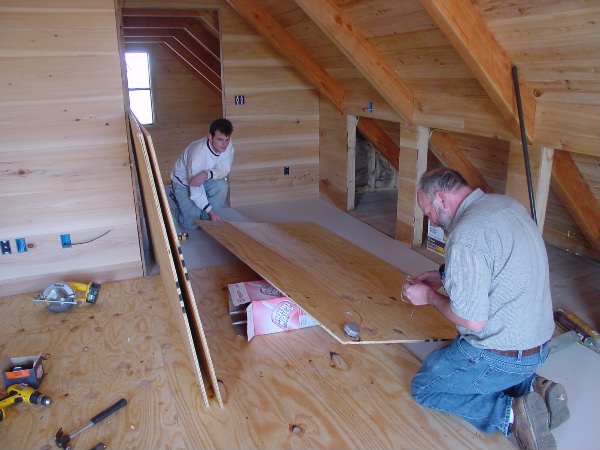
Dad, Danielle and I lay plywood (picture courtesy of Danielle).
- 12/15/02
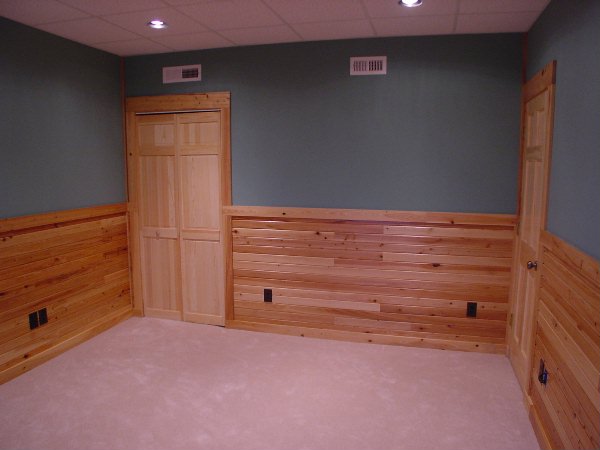
A room (the guest bedroom) is finally finished. I am speechless.
- 03/06/03
Looking the other way...
- 03/06/03
.jpg)
Here in the theater room we built a couple of platforms to be used for raised seating. Of course they need to be carpeted first.
- 03/06/03
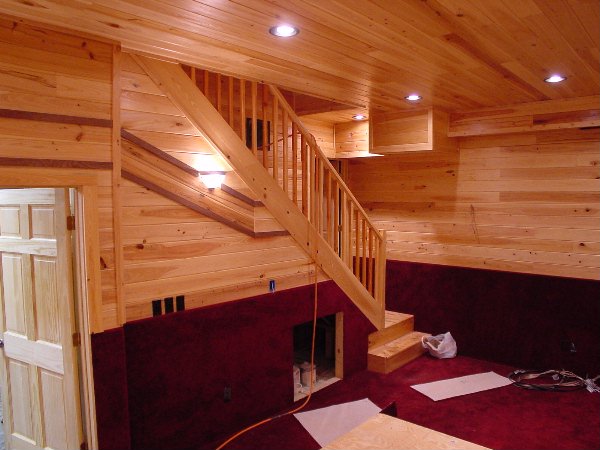
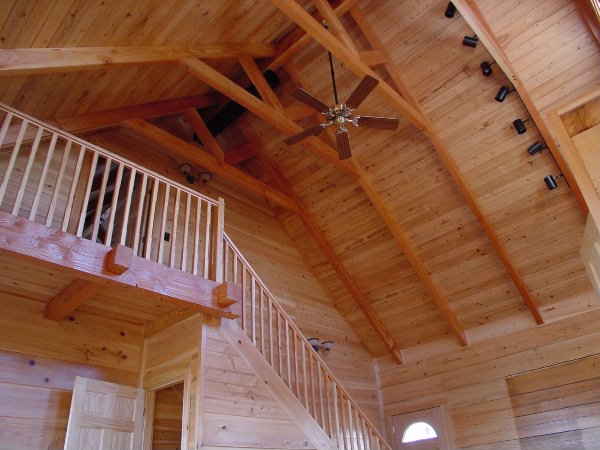
We built cypress railings for the stairwells (special thanks to Danielle Johnson and Kelly Adams).
- 03/06/03
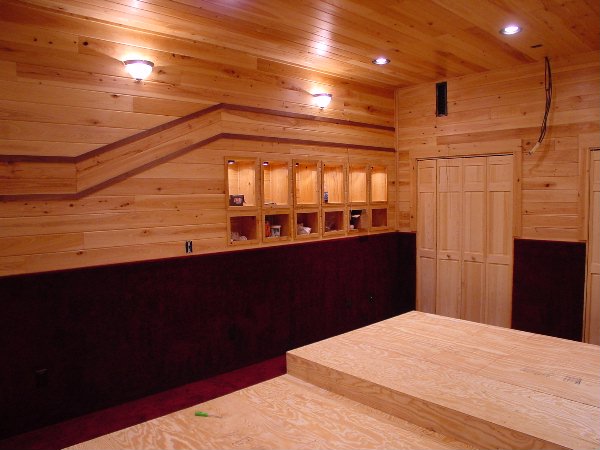
The design on the wall was built into the paneling and trimmed out with black walnut.
- 03/06/03
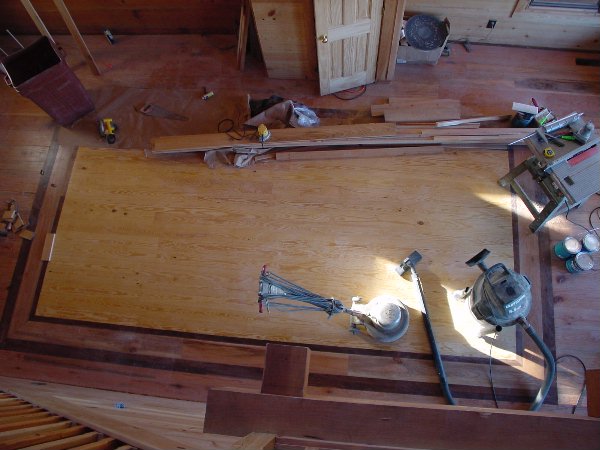
The great room floor contains red oak, black walnut (for the borders), and yellow pine.
- 03/07/03
The master bedroom with its finished cypress floor.
- 03/07/03
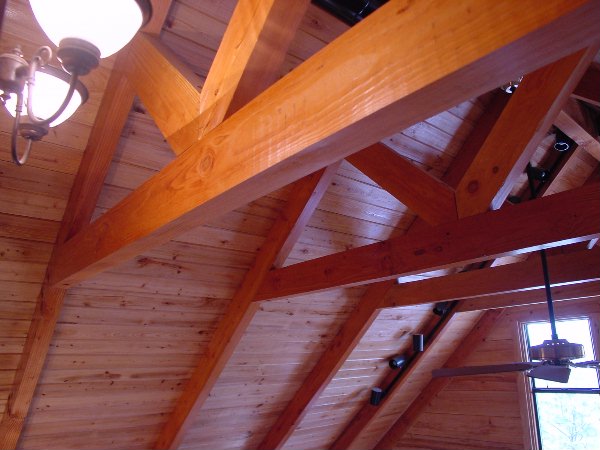
The great room ceiling from atop the stairs.
- 03/07/03
The great room...this is beautiful!!
- 03/07/03
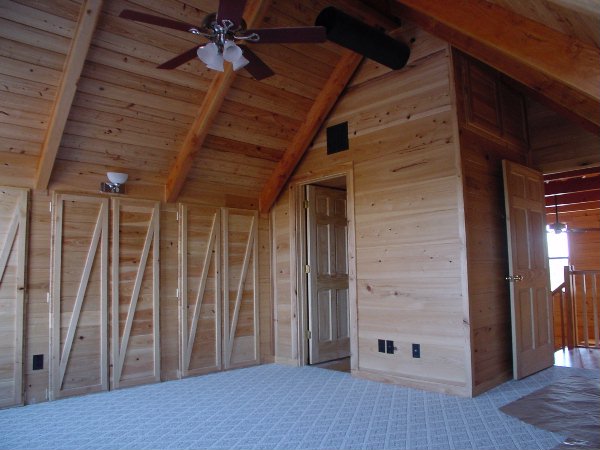
The closet doors here in the loft/office area I made out of cypress 1x6 t&g.
- 03/07/03